Benefit
Staying top-of-mind with candidates is highly critical to the success of your talent acquisition efforts. Following up on the heels of a conversation with a candidate shows that you're engaged and care about the relationship you're starting to build together. Candidates want to feel like they've been heard and a timely follow-up or recap is the perfect way to showcase your buy-in.
How-To
We already know that the main purpose of this Sequence is to follow up with candidates whom we've engaged in conversation with. We want our follow-up to be genuine and timely but we don't want to overdo it. Let's jump in and see how we can start building a simple follow-up sequence that we can start implementing into our workflow.
In order for Sequences to function properly, you'll want to make sure that you've set up Texting on your account. We recommend taking a look at this guide here.
1) You'll find the Sequence Builder under the Settings tab.
2) Let's click the "+" icon in the top left corner of the page to create a new Sequence.
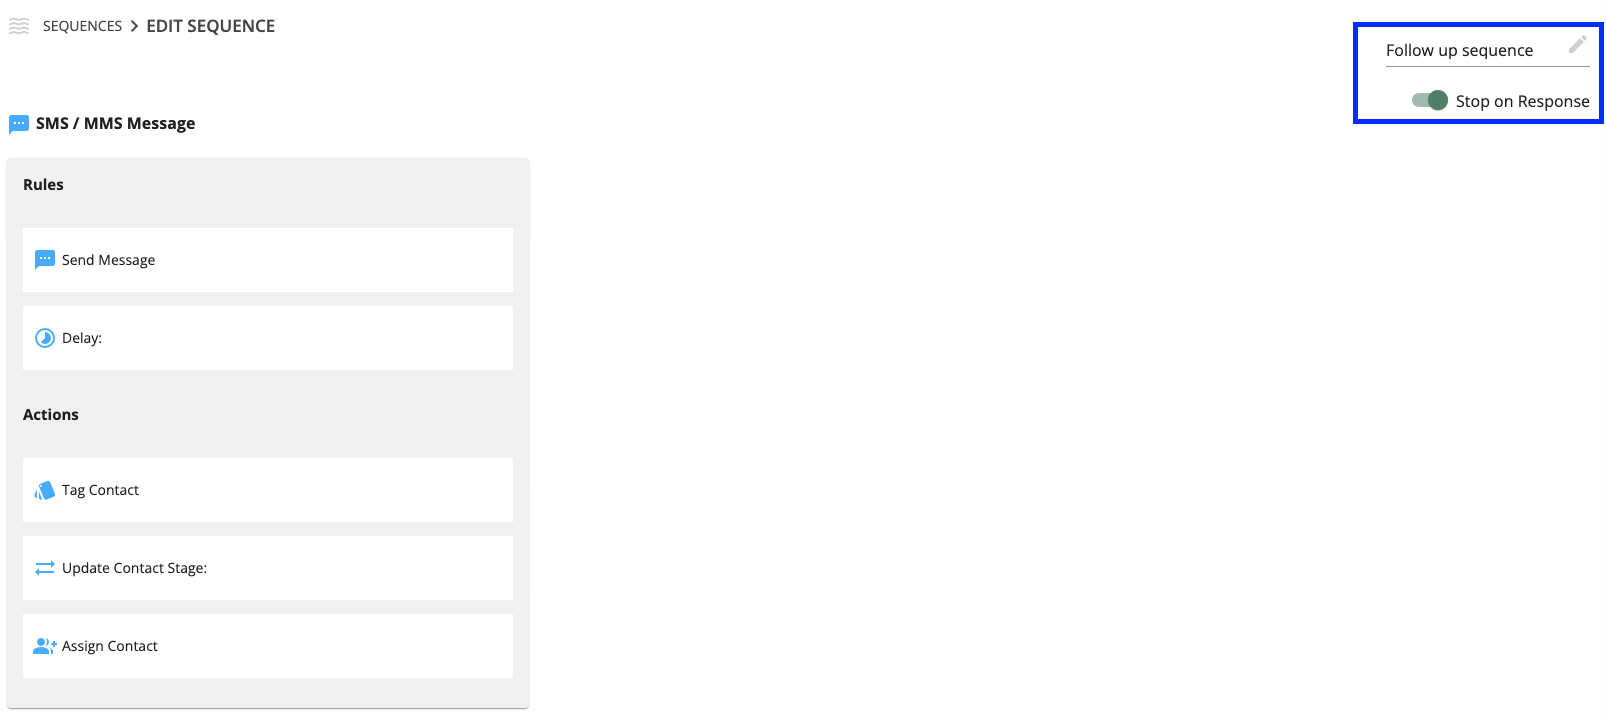
3) First, we want to make sure we give our Sequence a name and ensure that we remove contacts from our Sequence that respond to any of our messages. These changes are automatically saved for you.
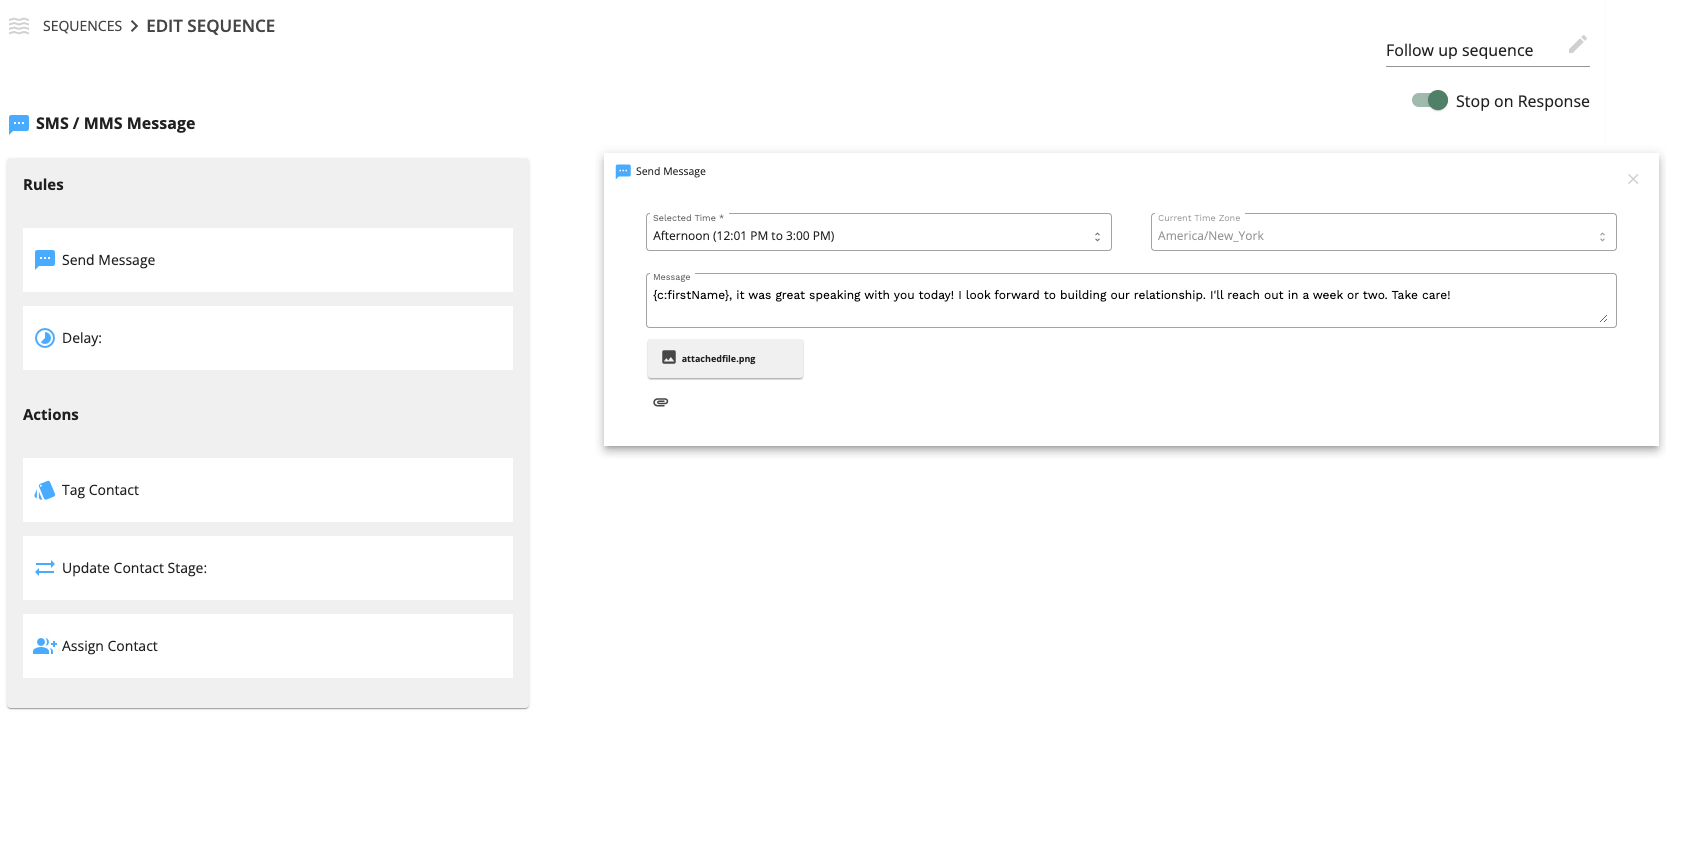
4) In our Rules and Action Toolbar let's drag over "Send Message" to the middle of the page. This will be the first step in our Sequence and will occur the moment we add a contact to it. Click on the "card" to open the settings so we can type out our message.
We will be using the following message as our follow-up:
"Hey {c:firstName}! This is {u:firstName} {u:lastName}. It was good meeting you over the phone a moment ago. Look forward to talking again soon, thanks!"
You can use "Merge Tags" to pull in dynamic contact information and give a personalized touch to your messages.
You can also set the time of day you'd like to have your message sent by using the "Selected Time" dropdown. Using the time zone that you are currently located in, Model Match will send messages to contacts based on your selection - Morning, Afternoon, or Evening.
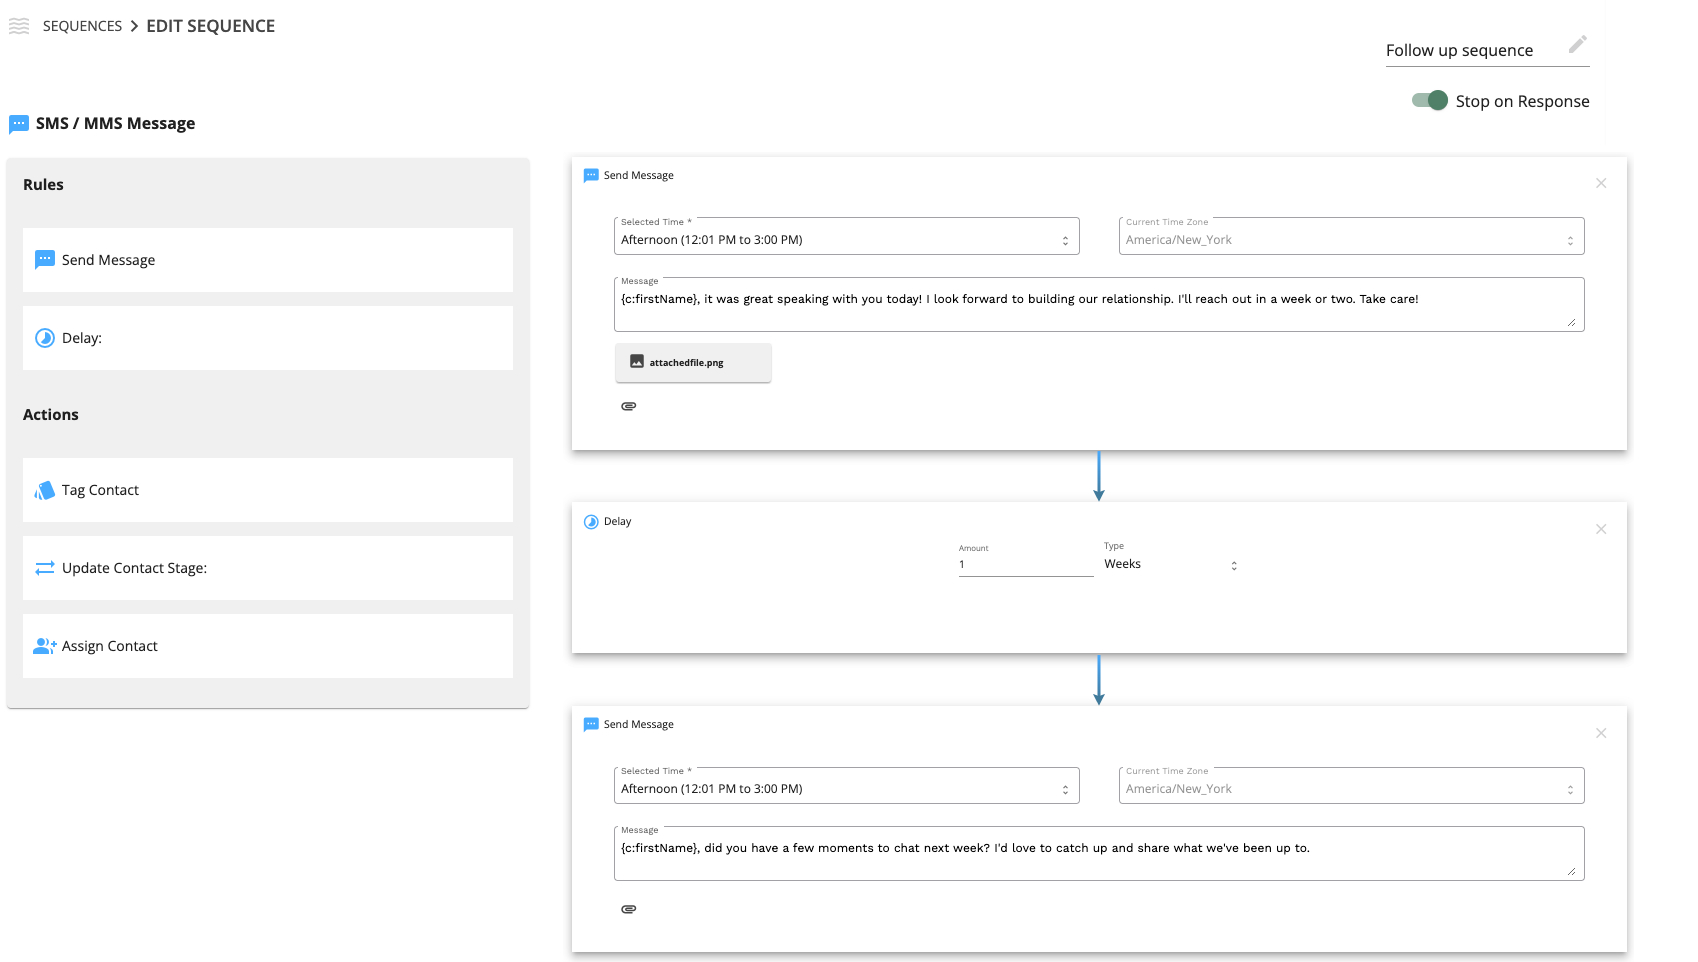
5) Next, let's add a small delay and then send another message if we haven't heard from the Candidate in a few days. Drag over the "Delay" rule under the "Send Message" action and set it for 1-3 weeks and then add another "Send Message" action.
The amount you delay the second message for is entirely up to you. 1-3 weeks would be a good place to start
Text Message Script:
"Hey {c:firstName}, this is {u:firstName} at [Company Name]. Did you have a few moments to chat next week? I'd love to catch back up"
Perfect! Now that we have a basic follow-up sequence built let's take a look at how we can start adding contacts to it!
Adding contacts to a Sequence
First, we will want to open a contact that contains a phone number. We also want to be sure that the phone number we are adding to the Sequence is a mobile phone number - otherwise, the text message will fail.
1) Open a contact record on your account that you want to add to the Sequence
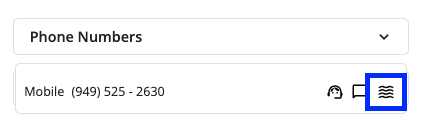
2) Click the "Phone Numbers" dropdown and click the "Sequence" icon next to the phone number you want to add.
3) In the "Sequence Selector" you'll see all active Sequences on your account. Let's select the "Follow-up sequence"

Once you've selected the Sequence you want to add the contact to you're all set!