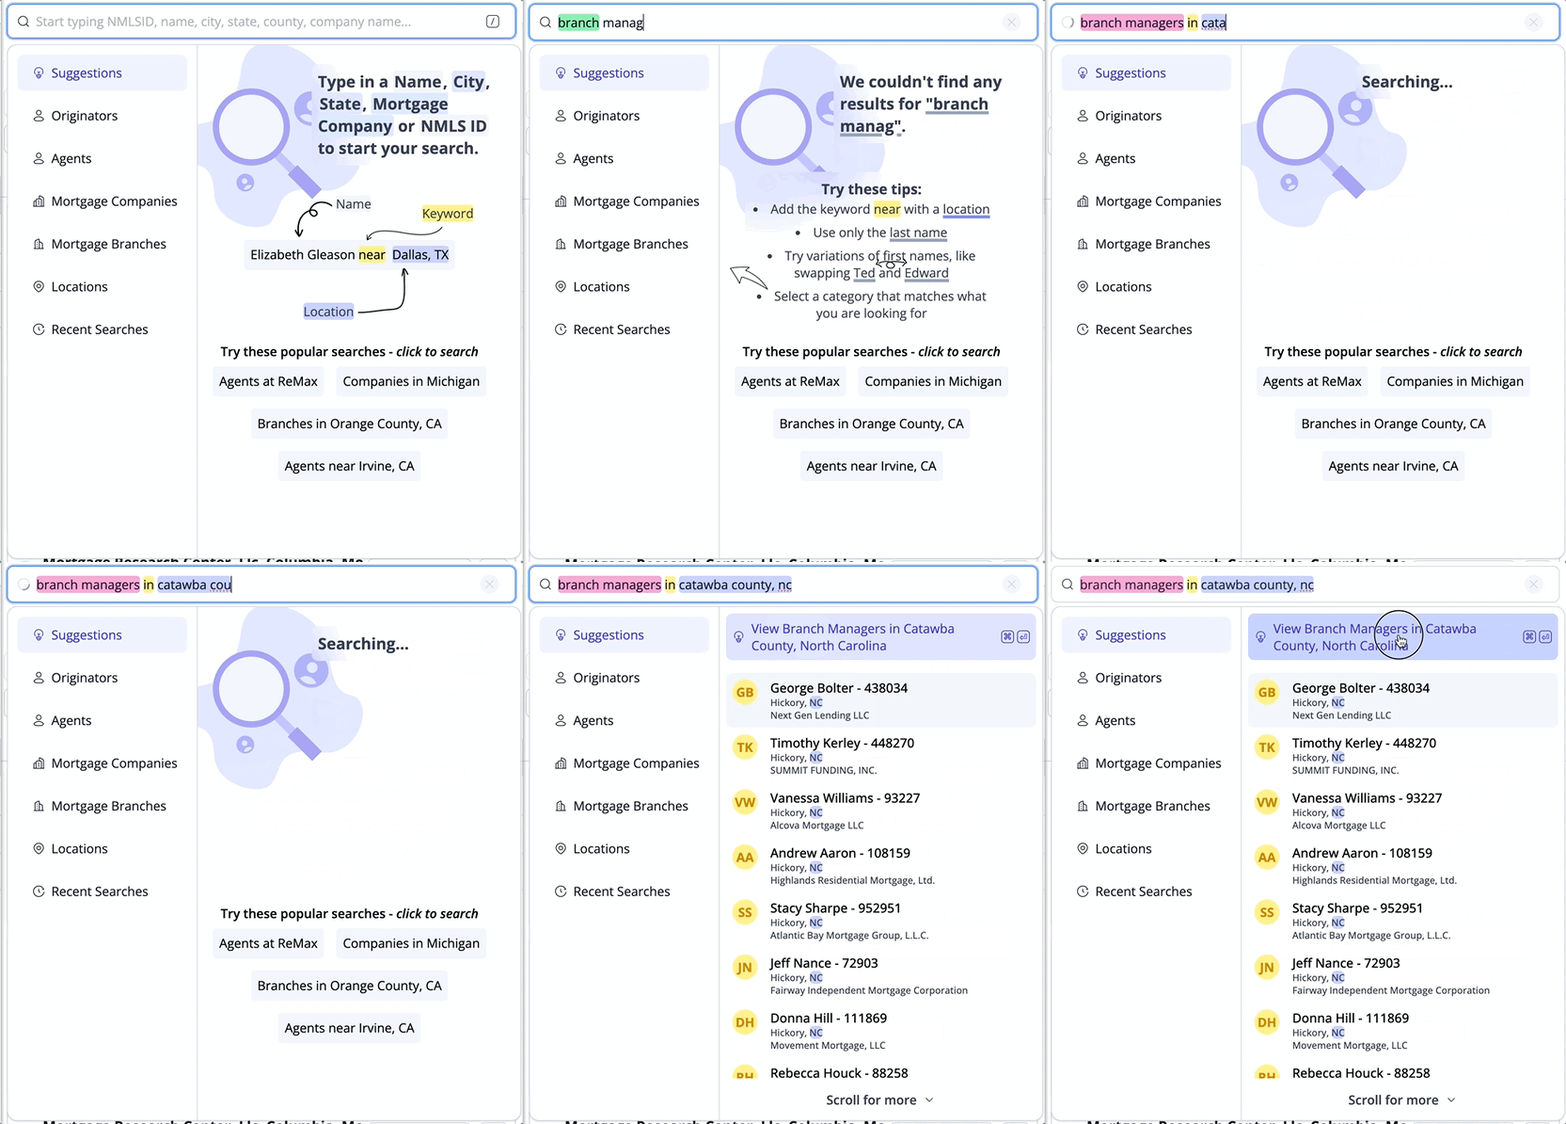
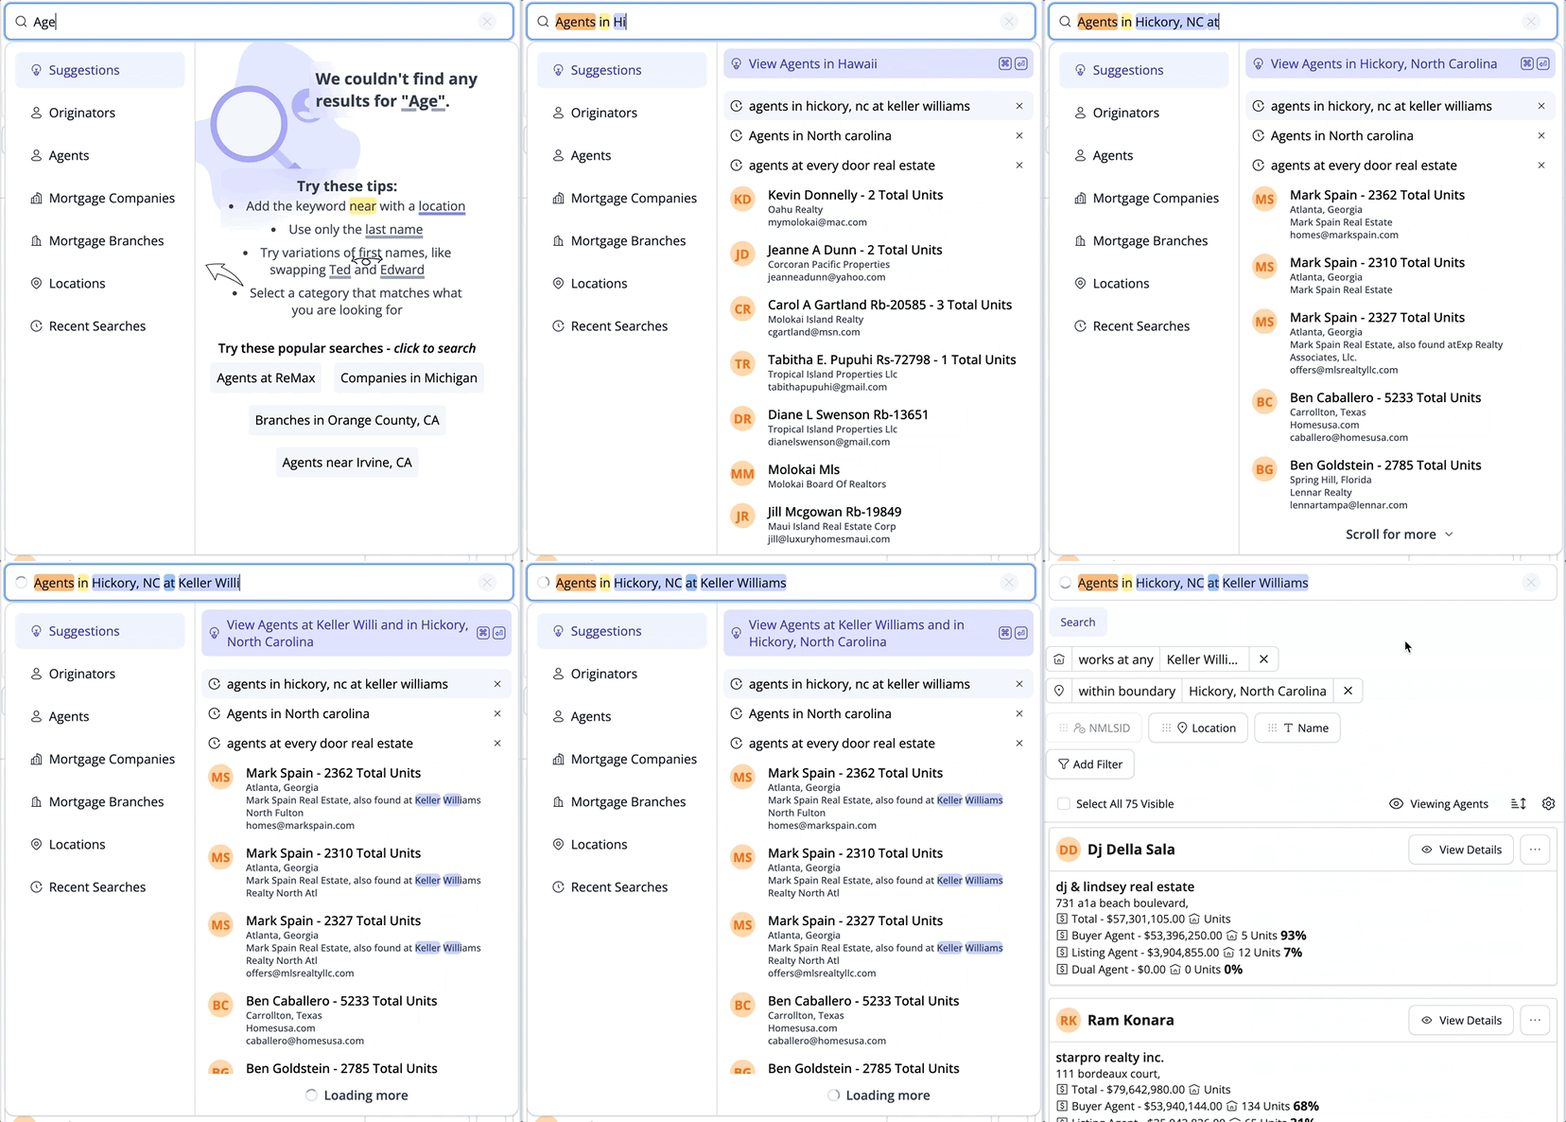
Getting Started with Market Insights

Market Insights allows you to identify Loan Originators, Branches, Companies and Real Estate Agents nationwide. Additionally, you can view Loan Officer and Realtor relationships, source leads into your pipelines and grab contact information.


What's in this article


  1. Searching in Market Insights πŸ”Ž
    1. Using the Suggestion menu ❓
    2. Searching Mortgage (Individuals, Branches or Companies) 
    1. Searching for Real Estate Agents
  2. View Loan Officer and Agent relationships (buying and listing)🀝
  3. Using Filters to narrow your search resultsπŸ§ͺ
  4. Search by State πŸ‡ΊπŸ‡Έ
  5. Search by County πŸ”Ž
  6. Adding leads to your pipelines (Requisitions) βž•
  7. Managing your Market Insights Settings βš™οΈ


Searching in Market Insights

Depending on your permissions level, you're able to search for Originators (mortgage), Mortgage Branches and Companies and Real Estate Agents in Market Insights. 

The "Searching for" button at the top of Market Insights, allows you to quickly jump between each of those categories. 

searchingfor

For instance, if want to search for mortgage branches in an area, we would want to select "Branches" from the dropdown list. Additionally, if we wanted to view a list of all companies that are headquartered in a specific area, we would want to select "Companies". 

πŸ’­ Pro-Tip: If you're targeting a specific Company, you can simply type in the name of that company in the Search bar without specifying that you're searching for a company. More on that here πŸ‘‰


Using the Suggestion menu

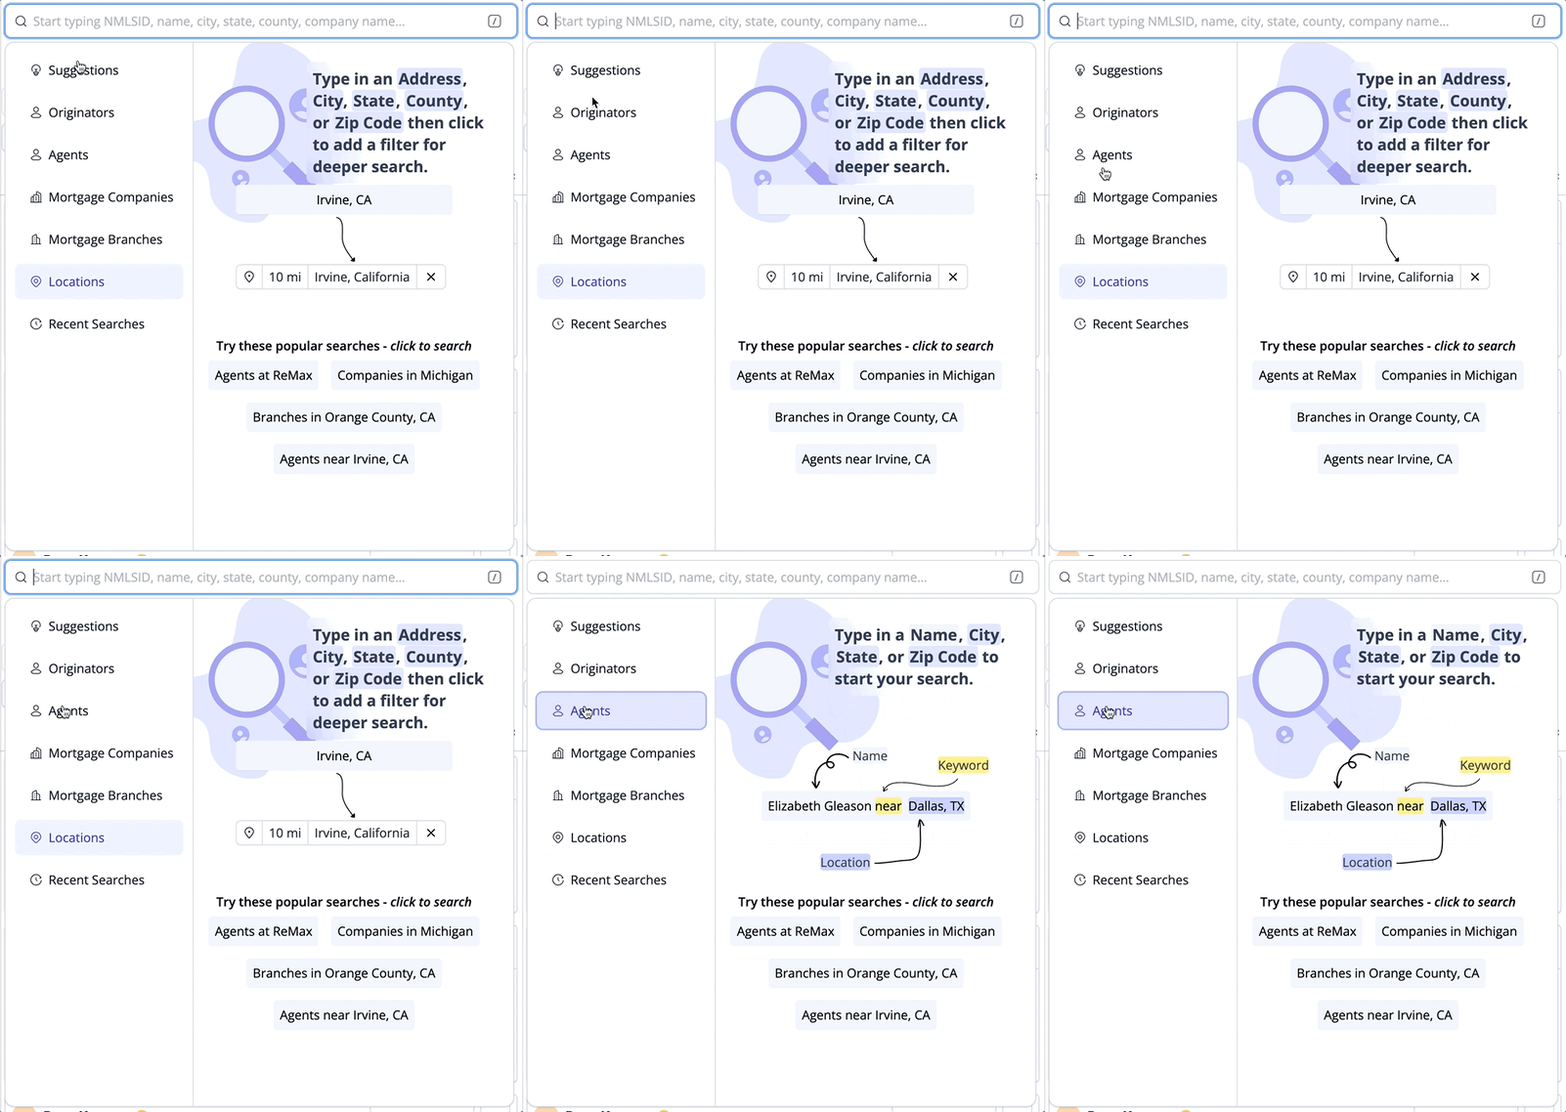
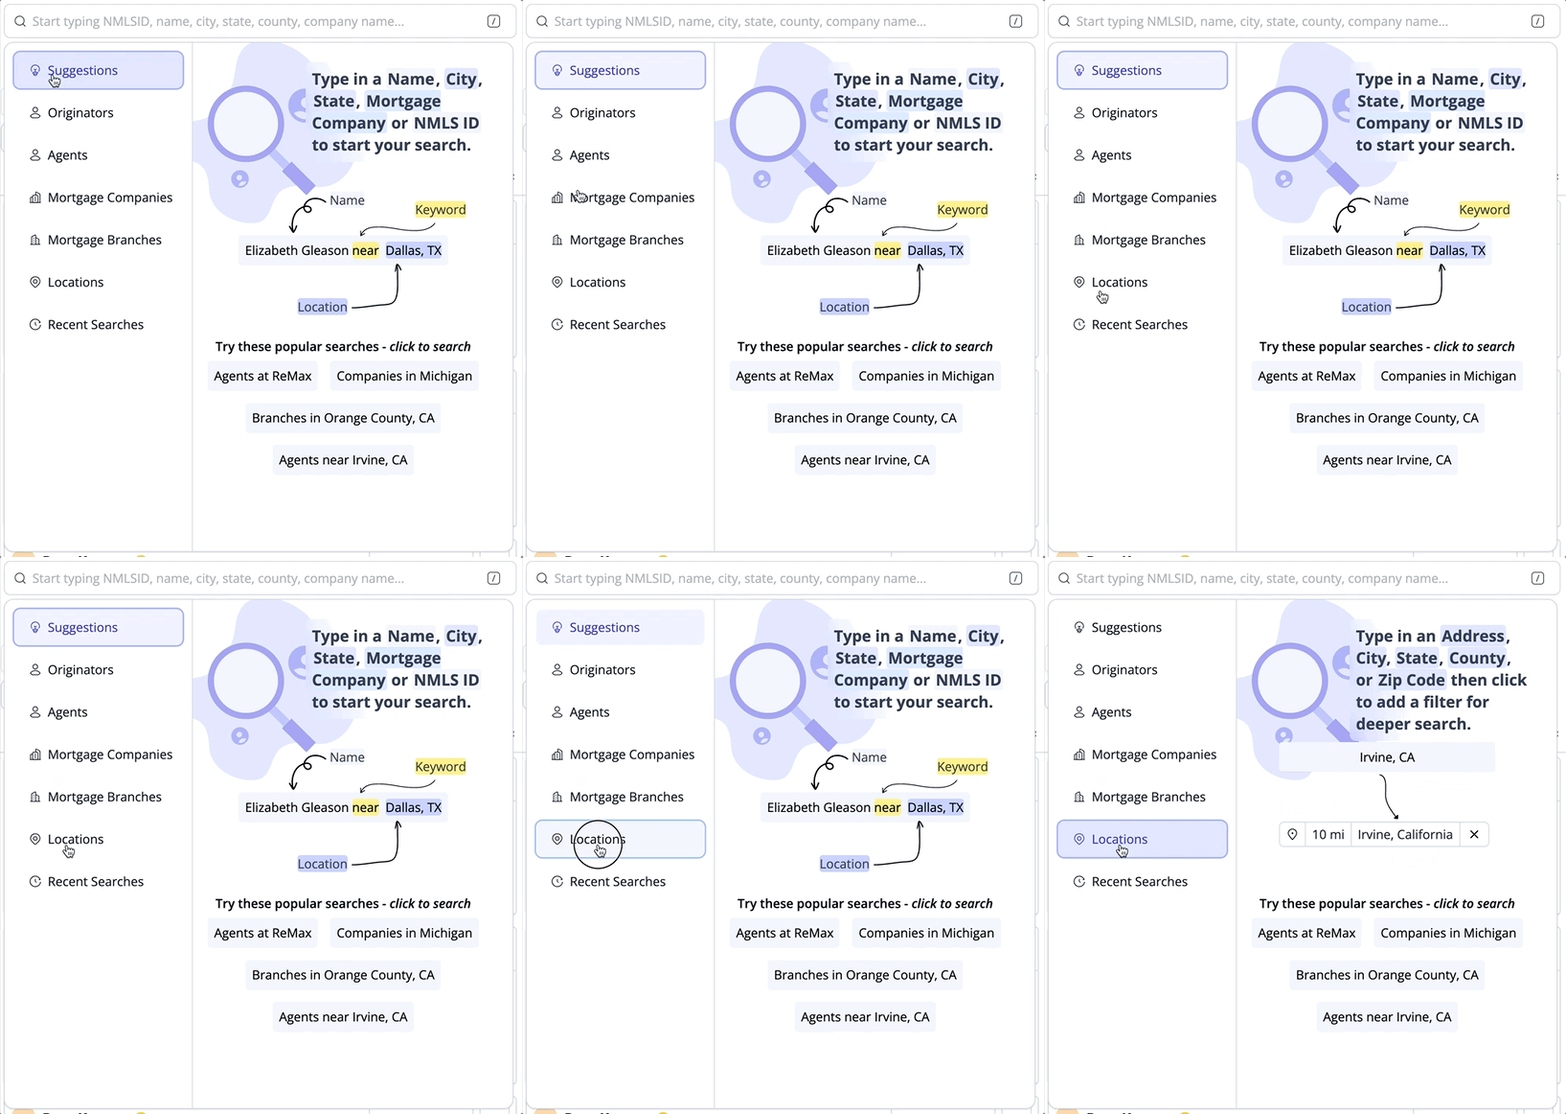
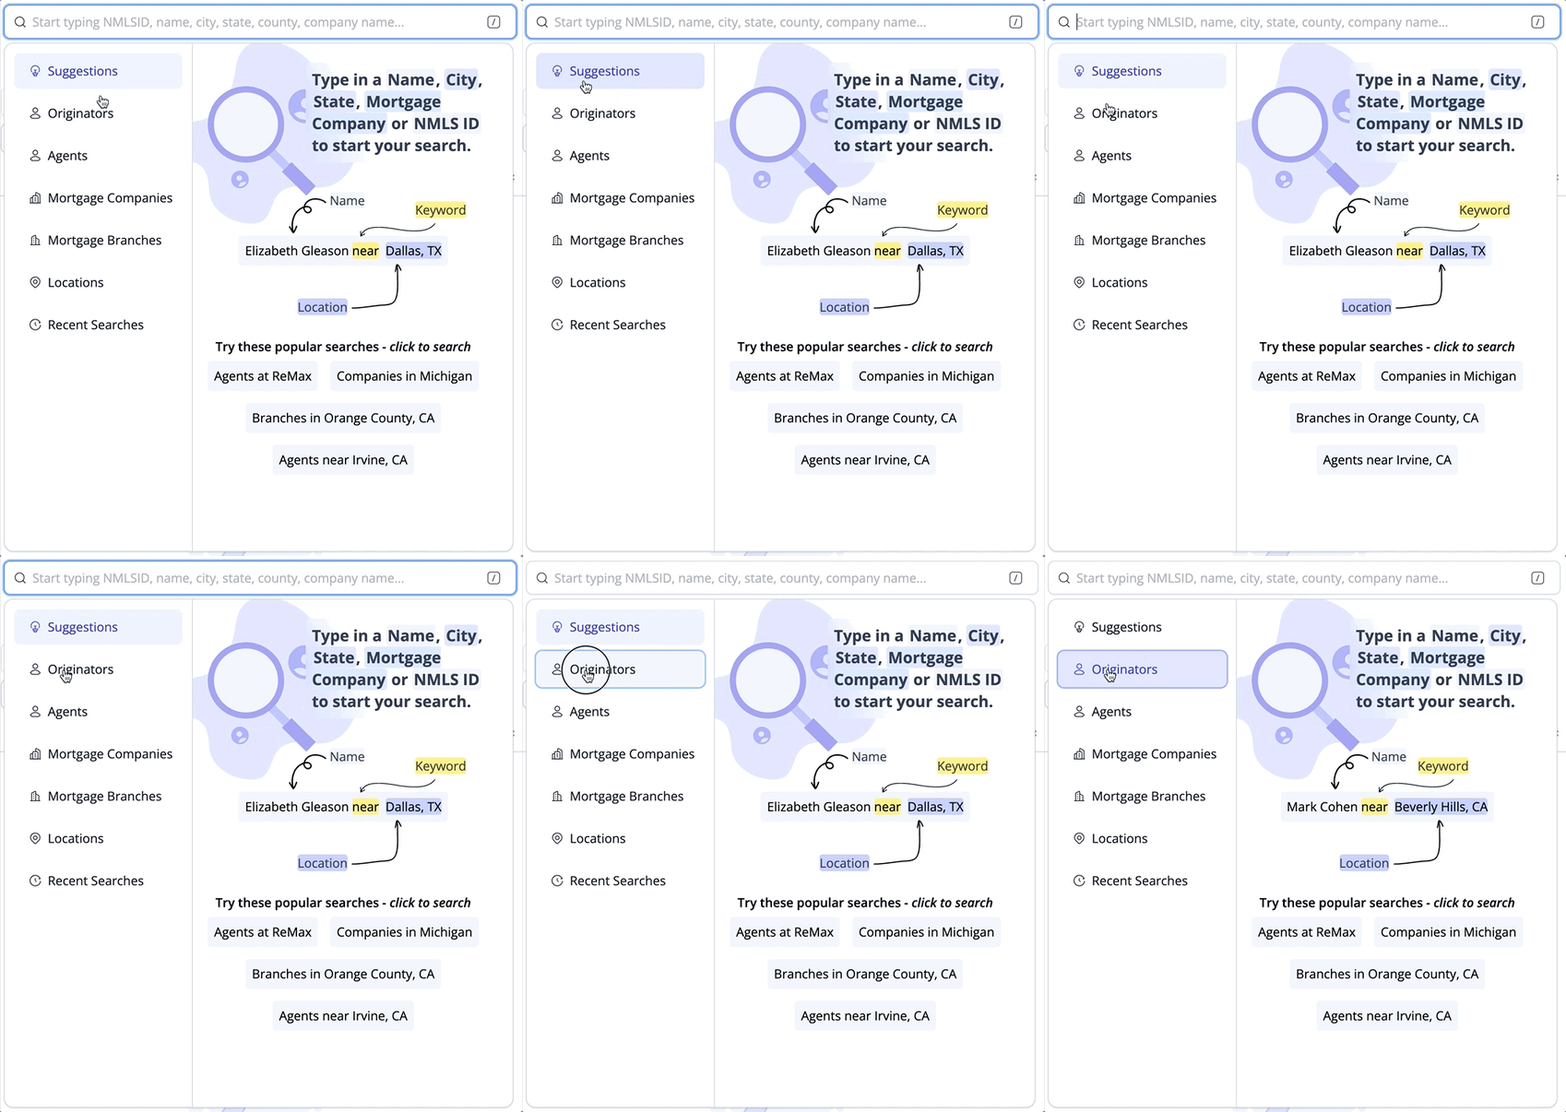
The Suggestion menu is your guide to searching in Market Insights! Model Match will provide you suggestions based on what you type into the search bar. Let's take a closer look at how it works...

Suggestion Categories 

The Suggestion menu is made up of categories that we will use to help organize search suggestions and help move you along faster.

Screenshot 2023-03-29 at 2.47.29 PM

As you can see, we will group matches based on Companies, Leads (people), Agents, Locations, or overall Suggestions. To jump to a category, simply click on the category name!

As you can see below, we just typed in Denver with the intent of searching for individuals in Denver, CO. Model Match matched your input on the search bar to companies, names (leads, agents) and location.

suggestion_search

πŸ’­ Pro-Tip: Just like when searching Google, being specific can help quite a bit! For instance, Thomas would have received less, but more accurate results if he typed in "Denver, CO


Searching for Mortgage Originators, Branches or Companies

Let's take a look to see how we can search for Originators in Market Insights. We are going to approach this using real world scenarios. Below, you'll find a series of questions and the steps taken to locate matching results. 

Scenarios: 

1. How do I find originators in a specific city? Like, Irvine in California? 

2. How do I search for a specific person using their Name or NMLS ID?

3. How do I view all branches (teams) in a city like "Denver, CO?

4. How do I search for a specific company like "ACME Home Loans"?


If you do not have access to Mortgage Data in Market Insights please reach out to our Support Team at support@modelmatch.com to learn how you can gain access to NMLS data πŸŽ‰


How do I find originators in a specific city? Like, Irvine in California? 

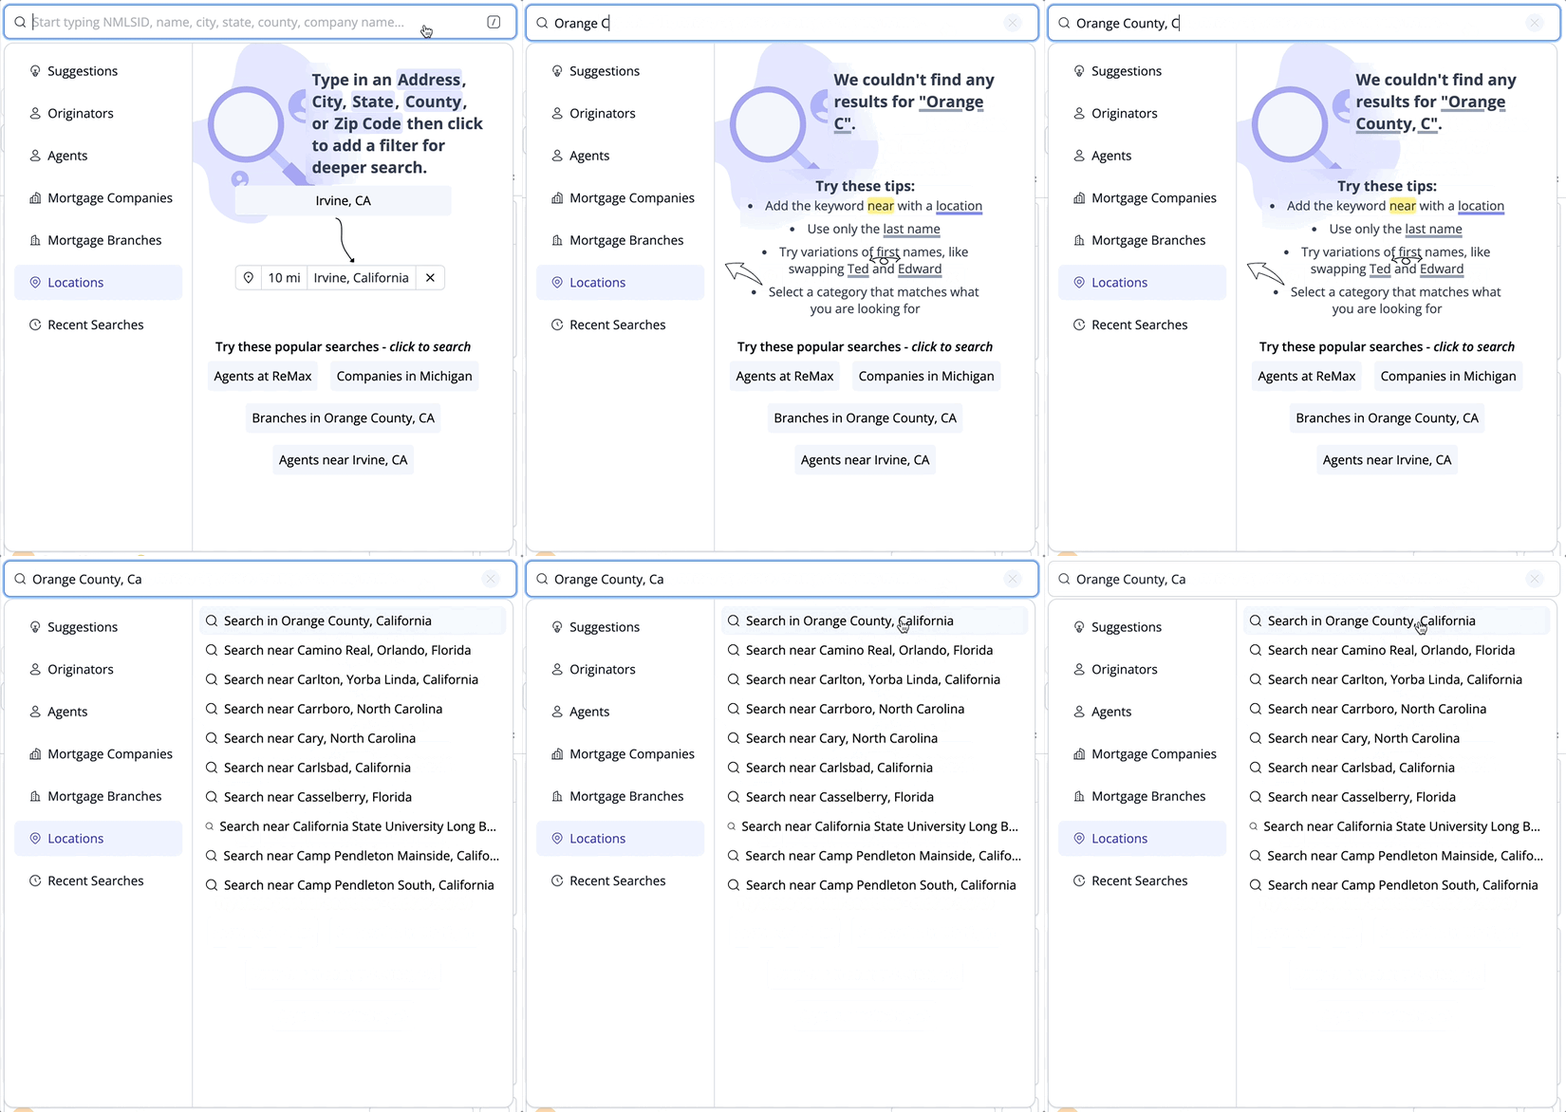
1. Since we know we want to search a location, let's type in "Irvine, CA" to the search bar. 

irvine_1

2. Since we were a bit more specific this time, Model Match found an exact match and brought it to the top of the Suggestion menu. Let's click "Irvine, California, United States" to view the list of all originators that are in Irvine, California. 

irvine_2

How do I search for a specific person using their Name or NMLS ID?

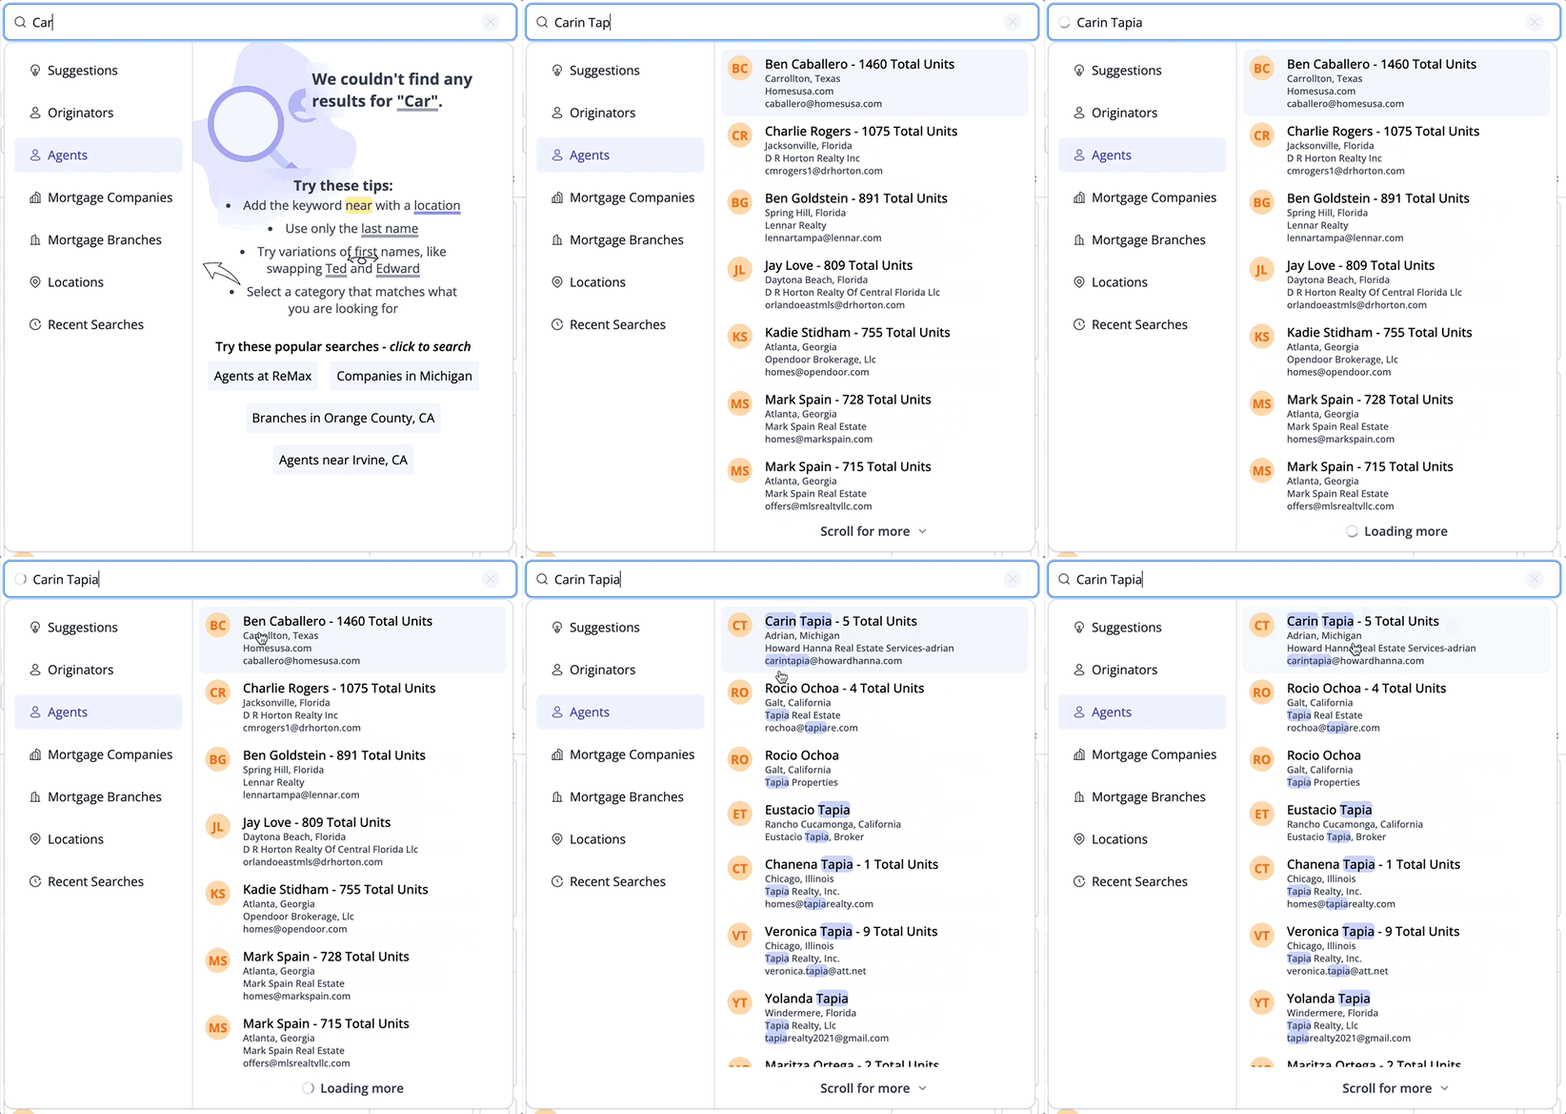
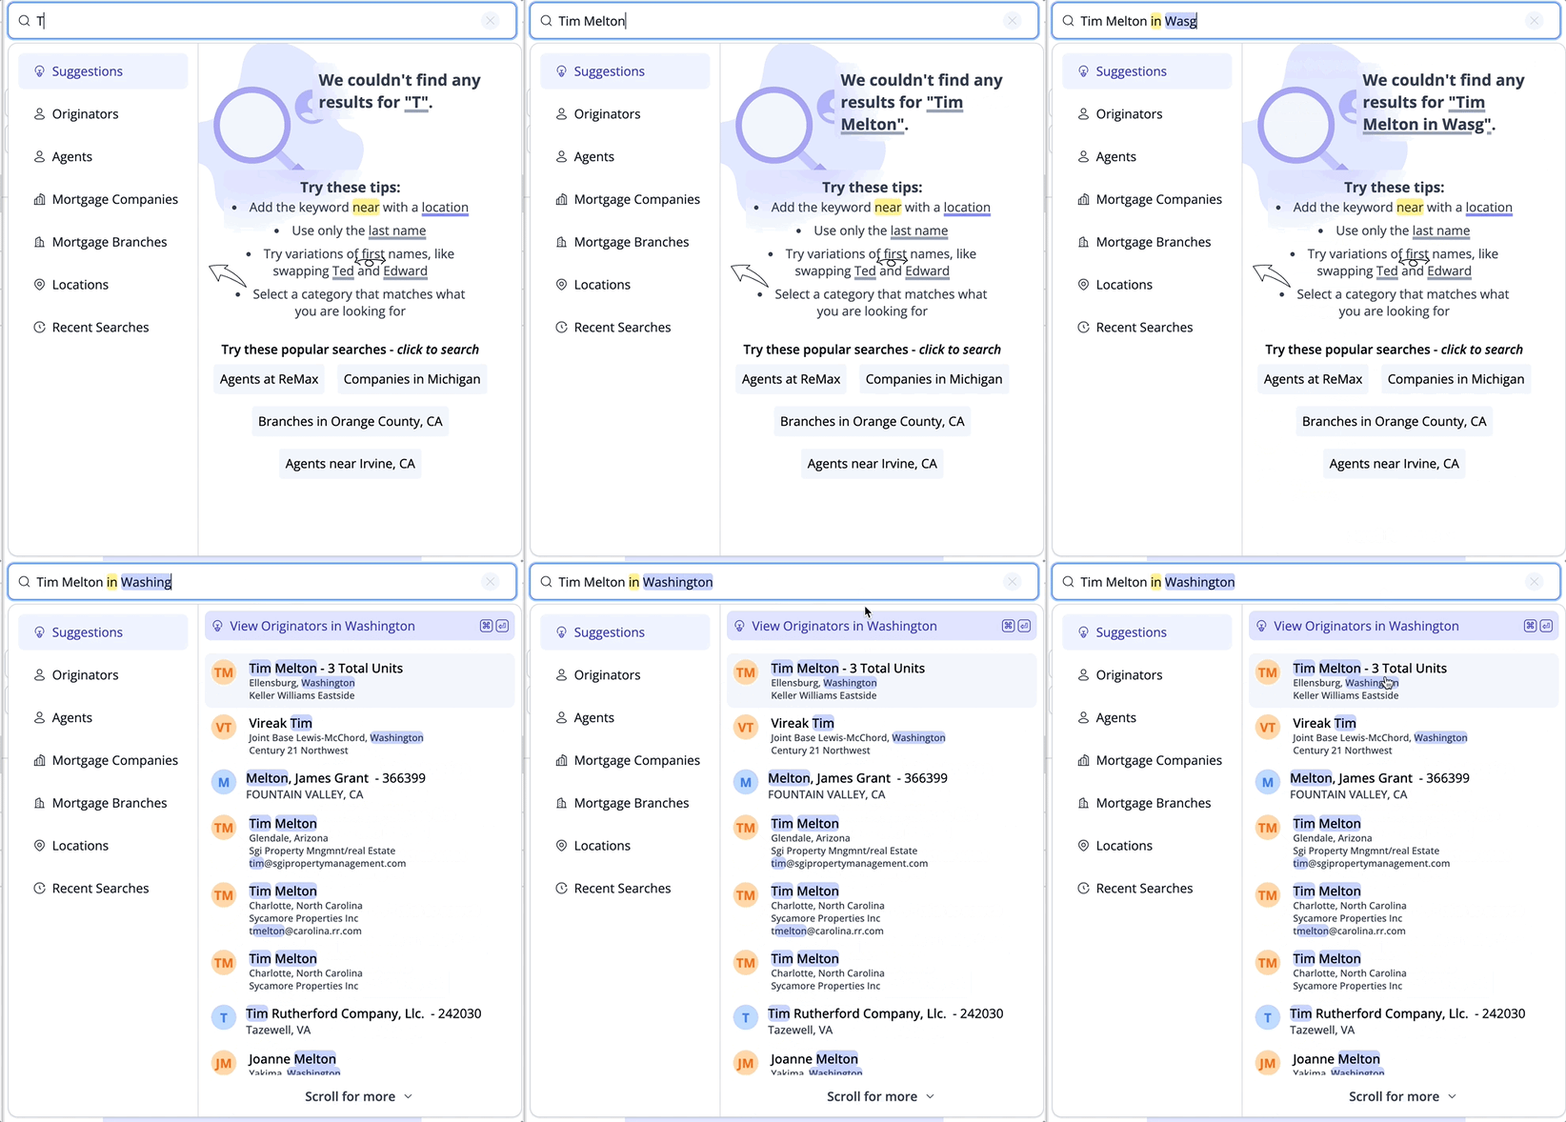
1. This is super easy! Simply type in the name of the person directly into the Search bar. In this example, we will click on "Leads" to help narrow up the results. 

name_1

2. Once we've located the individual that we are looking for click on their name in the Suggestion menu to open their profile. 

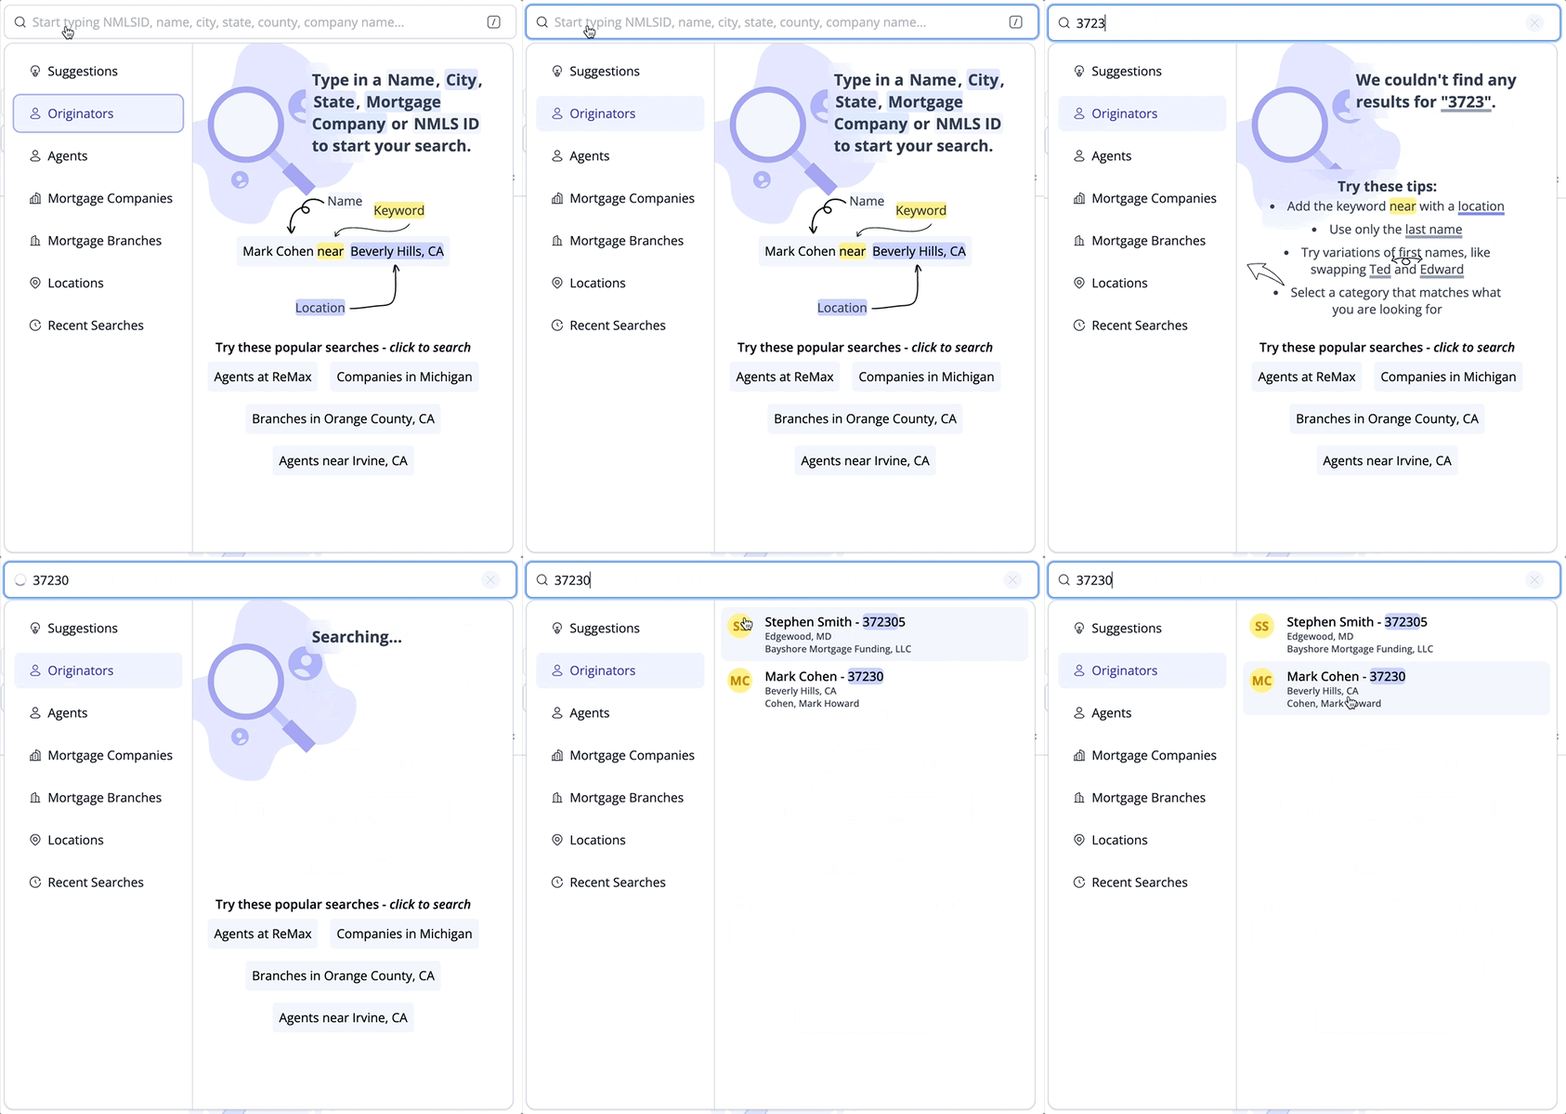
3. Alternatively, we can type in the NMLS ID of an individual we are searching for. 

nmls_id_1

How do I view all branches (teams) in a city like "Denver, CO?"

Just as you search for individuals in Market Insights, you can also search for Branches in a specific area like City, County or State.  

1. Click the "Searching for" button at the top of the results panel and select "Branches" from the dropdown list. 

branches_search

2. Perfect! Now let's use the Search bar to type in the area that we are focused on. In this case, we want to search for branches in Denver, CO.

We will then select "Denver, Colorado, United States" from the suggestion dropdown to run the search. 

branches_2


How do I search for a specific company like "ACME Home Loans"?

1. Using the Search bar let's simply type in the name of the company that we are looking to view. 

company-1

2. To view the Company Profile we will simply click the matching company name from the Suggestion menu. 


Searching for Real Estate Agents

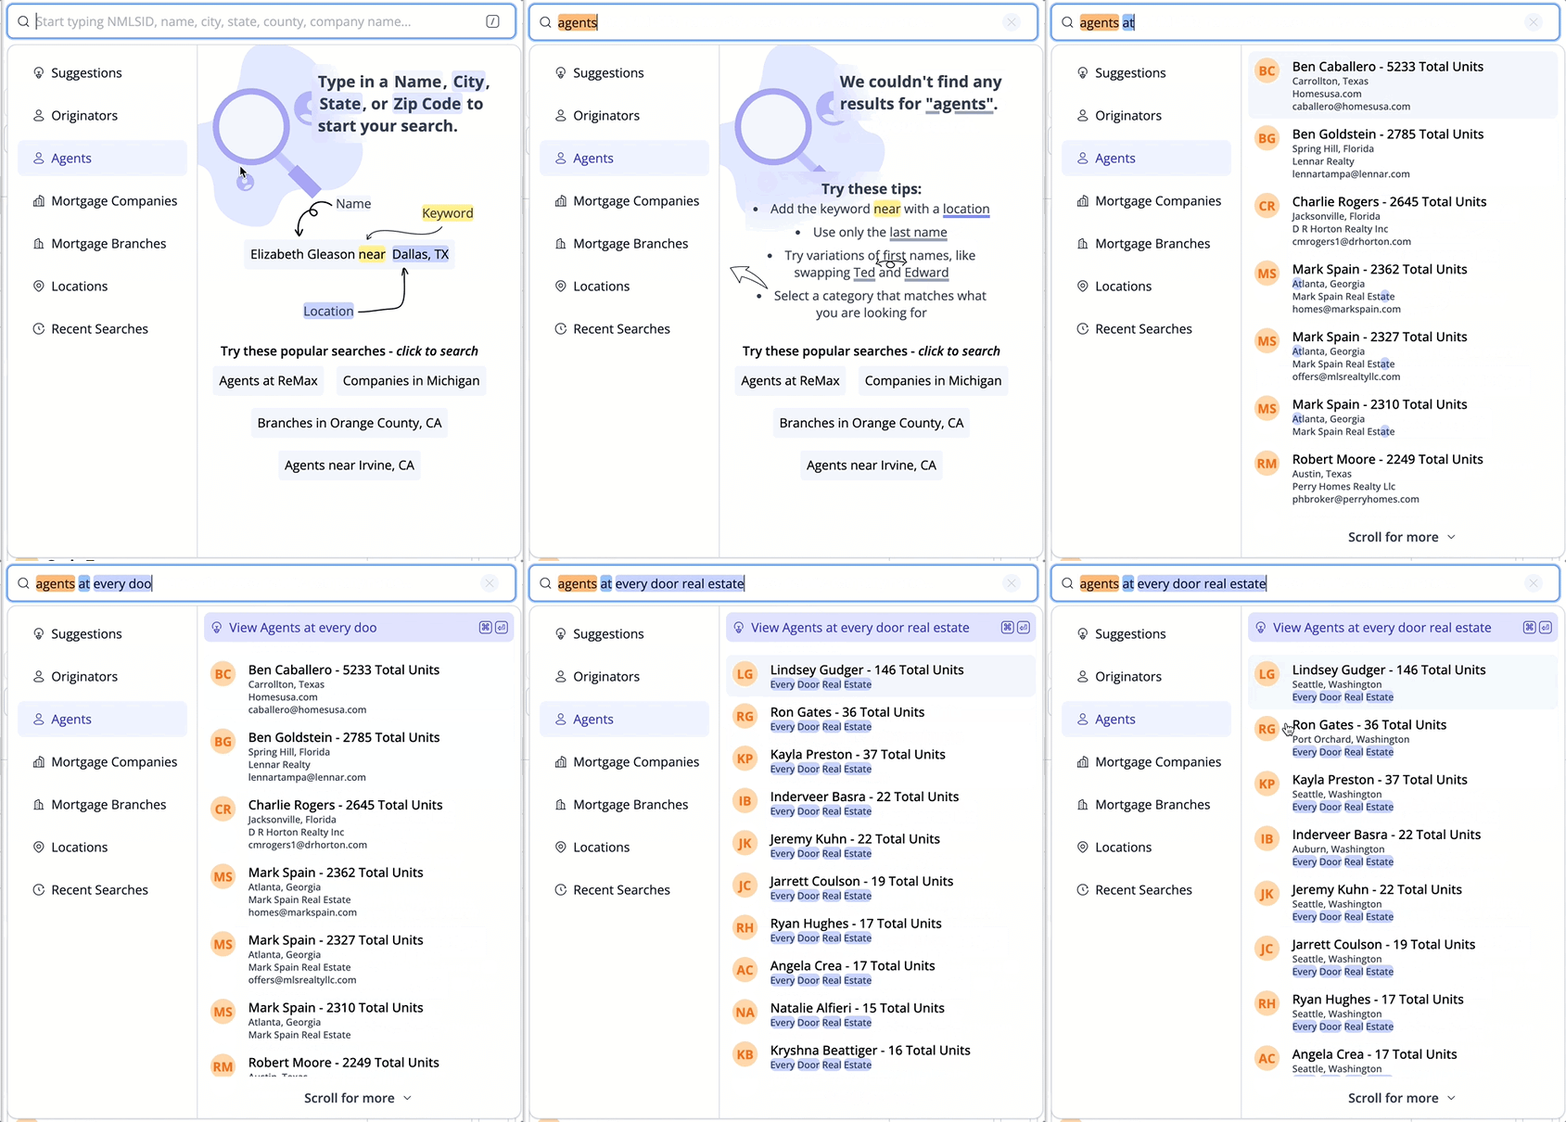
Let's take a look to see how we can search for Real Estate Agents in Market Insights. We are going to approach this using real world scenarios. Below, you'll find a series of scenarios and the steps taken to locate matching results. 

Scenarios: 

1. How do I search for all agents in a specific market like San Clemente, CA?

2. I want to view Agents that represent buyers in my market.

If you do not have access to Real Estate data in Market Insights please reach out to our Support Team at support@modelmatch.com to learn how you can gain access to MLS data πŸ₯³

How do I search for all agents in a specific market like San Clemente, CA?

1. Let's click "Searching for" at the top of Market Insights and select "All Agents".

search_agents

2. Now let's use the Search bar to type in the area that we are focused on. In this case, we want to search for branches in San Clemente, CA.

We will then select "San Clemente, California, United States" from the suggestion dropdown to run the search. 

agents-sc


I want to view Agents that represent buyers in my market.

1. Let's click the "Searching for" option at the top of Market Insights and select "Buyer Agents". 

This search will show all agents who appear as have represented the buyer on sold real estate transactions. 

buyer-agent

2. Now that we have "Buyer Agents" selected, let's type in the market (city/state or state) into the Search bar to view results 

buyer-california

View Loan Officer and Agent relationships

If you do not have access to Real Estate data or NMLS Data in Market Insights please reach out to our Support Team at support@modelmatch.com to learn how you can gain access πŸ₯³

Whether you're viewing an Originator or an Agent in Market Insights, there are a number of ways for you to view the Originators or Agents they conduct business with. You're able to view those relationships on both the Buying and Listing side of every transactions.

In this example, we will be searching for Originators in our market (San Clemente, CA) and taking a look at how we can view the Agents an Originator is conducting business with. 


1. Viewing Relationships from search results

2. Viewing Relationships from a profile


Viewing Relationships from search results

1. If we do not already have "Searching for Loan Originators" selected, let's make sure to do that by clicking the "Searching For" button at the top of Market Insights. 

searchingfor

2. Now, let's search in a market so we can get some results. In this example, we are going to search "Irvine, CA" so we can view all Originators in that market. 

irvine_2

3. Great! You should now see results in the results panel below. To view an originator's Realtor Relationships, let's click the View More menu by clicking the icon in the upper right corner of their profile card. 

buyer-agents

4. Model Match will now display each Agent that this Originator worked with on the Buyer side of their transactions. Additionally, you can view each agent on the Listing side of those transactions. 


Viewing Relationships from a Lead Profile

Now, let's take a look at how we can view Agent Relationships from an Originator's profile in Market Insights. 

1. Let's open an Originator's profile in Market Insights by clicking "View Details" on the Lead card in our search results. 

view details

2. On the Ordinator's profile, let's find the "Agents" chart. This chart will show you all of the agents that this Originator has worked with. Let's click the "Options" button and select "Buyer Agents"

view_relationships

Using Filters to narrow your search results

There are various filters that you can use to narrow down your search results. We will take a look at how you can apply the most commonly used filters below. 

πŸ’­ Pro-Tip: These are only a few of the filters that you have available to use to narrow your search results. For a full list of filters and their definitions, click here. 

1. Loan Types

2. Transaction Types

3. Company Category

4. Total Volume Range 

5. Remove Duplicates

Loan Types

The Loan Type filter allows you to filter your search results based on the percentage of types of loans they have originated in the last 12 months. 

1. Let's run a search to gather results. In this example, we will run a search for all originators in California. 

california_search

2. Now that we have results, let's click "Add Filter" to view our filters and select "Loan Types"

loantypes

3. You're able to select a single Loan Type or make multiple selections to "stack" filters. In this example, let's find "Conventional" from the list of Loan Types. To select a Loan Type, click the checkbox and then click it once more to set a percentage range.

Once you're ready, click "Apply" to apply the filter to your search results. 

loan_types_filters

πŸ’­ Pro-Tip: Sliders are not your jam? No problem! You can type in a percentage range in the "Specify Range" field like this "25 - 50" to set the range of 25% to 50%

Additionally, you can filter Loan Types and Transaction Types by Volume. Simply click the "Volume" toggle to filter by Volume instead of Percent. 

Transaction Types

The Transaction Type filter allows you to filter your search results based on the percentage of transactions they have originated in the last 12 months. 

1. Let's run a search to gather results. In this example, we will run a search for all originators in California. 

california_search

2. Now that we have results, let's click "Add Filter" to view our filters and select "Transaction Types"

volume_percent

3. You're able to select a single Loan Type or make multiple selections to "stack" filters. In this example, let's find "Conventional" from the list of Loan Types. To select a Loan Type, click the checkbox and then click it once more to set a percentage range.

Once you're ready, click "Apply" to apply the filter to your search results. 

Company Category

The Company Category filter will allow you to filter contacts that are working for a Bank or a non-bank. For instance, you may want to view all originators within Denver, CO that do not work for a bank. 

1. Let's run a search to gather results. In this example, we will run a search for all originators in Denver, CO

denver-search

2. Now that we have results, let's click "Add Filter" and select "Company Category". 

You'll notice you have two options: "Banks & Credit Unions" or "Not Banks & Credit Unions". 

In this example, we are selecting "Not Banks & Credit Unions" as we want to remove originators who work for a Bank or Credit Union from our results list. 

company_category

Total Volume Range

The Total Volume filter will allow you to filter contacts that have originated between your selected range in the last 12 months.

1. Let's run a search to gather results. In this example, we will run a search for all originators in San Clemente, CA

san_clemente_search

2. Now that we have results let's add the Total Volume filter to apply a volume range to our results. Click "Add Filter" and select "Volume". 

volume-filter

3. You'll able to interact with the slider to select your Minimum and Maximum volume. Additionally, you can type in the minimum and maximum number as a range into the "Specify a range" field. 

πŸ’­ Pro-Tip: Numbers are shown in Millions. For instance, you can type in a volume range in the "Specify a range" field like this "25 - 50" to set the range of between $25M and $50M

volume-range

Remove Duplicates from Search Results

The "No Duplicates" filter will remove all search results that are marked as Duplicates from your Search Results. This is the perfect filter to use if you're looking to generate a list of results that have not yet been sourced to a pipeline on your account. 

1. Once you have results showing in Market Insights, let's click "Add Filter".

addfilter_2

2. Scroll down and locate the "No Duplicates" filter. Let's click on it to apply it to our search. 

noduplicates

Searching by State

You are able to search for both Originators and Real Estate agents by State. You're able to also search by multiple States in a single search. Let's take a look at how we can accomplish this type of search in Market Insights. 

Searching in a single State

1. Let's open Market Insights and set the type of search that we are looking to conduct - "Loan Originators", "Agents", "Branches" or "Companies" using the "Searching for" button at the top of the results panel. 

searching_for

2. No matter which option we select, we can simply type in the State name into the Search bar. For instance, if we want to search the state of North Carolina, let's type "North Carolina" into the Search bar. 

northcarolina-state-search


Search by State (Map)

Beyond using the Search bar to search for a State you may also interact with the map to select specific States that you'd like to search within. 

1. Let's click "Layers" on the map and select "State Borders"

layers-states

2. Using the Map, hover over the State you'd like to search in and click it. You can continue to select additional states to add them to your search results. 

select_states_map


Adding additional States to our Search results (Map)

Now that we have results in North Carolina, you may want to add additional States to your search results. For instance, we may want to add "South Carolina" to our results. 

3. Let's interact with the Map to include the second State ("South Carolina). Simply hover your mouse over South Carolina and click it. Market Insights will automatically run a new search and pull in results in South Carolina or the selected State. 

select_second-state

Adding additional States to our Search results (Filter)

 We can also add additional locations to our results by using the "Location" filter in the "Add Filter" options. 

1. Once we have a State selected and results are showing, let's add "South Carolina" using the "Add Filter" options. Click "Add Filter" and select "Location". 

select_locations_filter

2. In the "Locations" field, let's type in "South Carolina" and select the matching result that is shown. 

select-south-carolina-filter

Search by County

Just as we can search by State, we can also search by County. You're able to also search by multiple Counties in a single search. Let's take a look at how we can accomplish this type of search in Market Insights. 


Using the Map to search by County

1. Let's open Market Insights and set the type of search that we are looking to conduct - "Loan Originators", "Agents", "Branches" or "Companies" using the "Searching for" button at the top of the results panel. 

searching_for

2. No matter which option we select, let's now click "Layers" at the bottom left of the map and select "County Borders"

county-borders-select

3. You'll notice the map will update and display every county. We can click within these areas to select the County we wish to target. 

πŸ’­ Pro-Tip: You are able to select a single county or make multiple selections by clicking on each county you wish to run a search in. 


county-select_map

Adding leads to your pipelines (Requisitions)

You may be surprised to learn just how easy it is to add leads you're sourcing in Market Insights to your existing Requisitions in Model Match. 

1. Selecting a single leads from results 

2. Selecting leads in bulk (by page)

3.  Adding a lead to a pipeline from the results list

Selecting a single leads from results

1. Run a search in Market Insights and populate some results. 

northcarolina-state-search

2. Now that you have results populated, let's find a contact that we would like to add to a Requisition. Let's hover over their name and click the checkbox. 

select-lead

πŸ’­ Pro-Tip: You are not limited to a single lead. You can handpick leads from your results list and continue to check off leads you'd like to add to your Requisition. 


select-mulitple-leads

Selecting leads in bulk

Additionally, you are able to select entire groups of leads at a time (up to 1000). Let's take a closer look at how we can accomplish this. 

1. Let's run a search in Market Insights and gather results. 

northcarolina-state-search


2. Now that we have results, we can start selecting groups of leads. Market Insights will load 75 leads at a time. Let's hover over the checkbox at the top of the results page and check out how we can select groups of results. 

groups_selections

You'll see that you have three different options for selecting groups of results: 

1. First 250 

2. First 500 

3. First 1000 

To select the First 75 leads, simply click the checkbox to select the entire first page. 


Adding a lead to a pipeline from your search results

Once you have selected leads from the search results you're able to add those leads to a Requisition. 

1. With leads selected, let's click "Add to Pipeline" on the popover at the bottom of the results panel. 

addtopipeline

2. On the "Add to Pipeline" popup, let's select a Requisition from the dropdown. Additionally, we can select the "Stage" the leads will be placed in, we can tag them and we can assign them to a team member. We can also add any notes that we want to appear on each contact. 

πŸ’­ Pro-Tip: Do you have a large amount of Requisitions? Start typing the name of the Requisition into the "Requisition" field to narrow down your results. 

add-to-pipeline-steps

3. Once you're all set, let's click "Add to Pipeline". You may also add a lead to a Requisition by clicking "Add to Pipeline" on their individual profile. 

πŸ’‘ Thought you'd like to know: Model Match will automatically search for contact information for every lead that you add to a Requisition. We will add contact information like phone numbers, email addresses, Facebook, LinkedIn and website URLs. 

Managing your Market Insights Settings

The Settings page in Market Insights allows you to control everything from email notifications, to the look and feel of Market Insights. Let's talk a quick walk-through the various settings you have available to you and talk a bit about what they do. 

1. Notifications 

2. Table Settings (Results View)

a. Columns 

b. Layout 

c. Filters

d. Endless Scroll

3. Map Settings

4. Search & Filter Behavior 

5. Pipeline Settings


1. To access your Settings let's click on "Settings" at the top of Market Insights. 

click-settings

Notifications

This section allows you to select when you want to receive email notifications when individuals are added to Requisitions. 

Notify me about Pipeline Imports

Toggle this option ON if you want to receive  any notifications regarding imports from Market Insights. This option is required if you wish to receive any of the following notifications via email:

Notify me when Imports Complete

Toggle this option ON if you would like to receive an email notification when groups of individuals that you've added to Requisitions from Market Insights have been completed and are available. 

Notify me when teammates import

Toggle this option ON if you would like to receive an email notification when groups of individuals that other teammates have added to Requisitions that you're assigned to have been completed and are available. 


Table Settings (Results View)

This section allows you to customize the look and feel of Market Insights to match your workflow. 

Columns

This setting allows to select which Columns are displayed by default in the results panel. For instance, you may not use the Address column on every search. This setting will allow you turn off this column by default.

Keep in mind, you can always change this setting in the future, or make a column visible on individual searches using the Settings in Market Insights. When a column is turned "Off" a line will cross through the icon. 

columns-settings

Layout

Here is where you the Results panel is displayed on the page. For instance, you may work better with the results panel on the right side of the page versus the default, left side of the page.

settings_results

Filters

This is where you are able to decide which Filters are pinned to the top of your results panel. For instance, you may find that you typically search for individuals by their Name or NMLS ID. Instead of typing in their NMLS ID or Name into the Search field, you can pin this Filters to the top of the results panel. 

Pinned Filters will appear at the top of the results page.

pinned_filters

Data View

Rather view results in a List Style than Card Style? Here is where you can change that. Click "Change Table View" and simply select which view you'd rather be shown and we will display results in this style  on each search.

πŸ’­ Pro-Tip: While we recommend using the Card Style as it displays more information, List View can be extremely helpful for those of you who are sourcing large geographical areas with many results. You can also change this setting for specific search under the Options panel. 

change-table-view


Endless Scroll (ON or OFF)

Turning this setting OFF will display results in Market Insights by individual pages. Turning this setting ON will allow you to simply scroll the list of results and load additional results. 


Endless Scroll Turned ON

Screenshot 2023-07-25 at 7.05.18 PM

endless_scroll

Endless Scroll Turned OFF

Screenshot 2023-07-25 at 7.05.47 PM

pagebypage

Map Settings

These options allow you to customize different interactions with the Map in Market Insights. 

Cluster Pins

If this option is toggled ON, Market Insights will cluster results that are near each other. This can look a bit better when searching largely populated areas. Clicking on a Cluster will zoom you in closer to those individual results. 

Cluster Pins turned ON

cluster-pins-2

Cluster Pins turned OFF

non-cluster-pins


✍🏻 Take Note: When scrolling a larger list of results with "Cluster Pins" turned OFF, Market Insights will automatically convert back to "Cluster Pins" to increase performance. 


Animate Map Movements

Animations are pretty cool! But they aren't always needed. Turn this OFF to increase performance on slower internet connections or older machines.

Map Style

More of a dark-mode type of person? We get it. Select from Bright, Default (Google Maps style) or Dark Mode. 

Default Map Position 

Decide the area that Market Insights will focus on when you first open it. 

πŸ’­ Pro-Tip: You can also use the Map to the right of this option to select your Default location. Perfect for larger areas!

default-location

Search & Filter Behavior

Search Immediately After Filter

This setting allows you to control if Market Insights will automatically search for results when a filter is applied.

When turned OFF and a filter is applied, Market Insights will not automatically run the search of results and instead, wait for you to click the "Search" button. This can be useful if you'd like to apply filters first and then run your search. 

When turned ON, Market Insights will run the search each time a filter is applied providing you a more responsive and "real-time" search experience. 

Pipeline Settings

πŸ›‘ These options are only available if you're an Admin on your account.πŸ›‘

Allow Duplicate Imports (Located in Company Settings)

Located in Company Settings, this option will allow you to specify which teammates on your account are able to import duplicate contacts from Market Insights. If turned ON, those teammates will be able to "override" the duplicate warning in Market Insights.

Highest Duplicate Stage

This option allows you to specify when a contact can be added to a Requisition even if they are already on the account using the "Stage" of the existing contact.

For instance, if "Meeting" is selected, the contact that already exists on the account must be in the "Prospects" or "Candidates" stage. If the existing contact is in the Meeting, Offers or Hires stage, the user will not be able to import the contact as a duplicate.