Create a Playbook
Model Match Admin users have access to the Playbook manager dashboard in the navigation bar.
If you're unsure if you have access we recommend reaching out to your internal account manager or contact your Success Manager.
Step-by-Step
1. Click the Playbooks icon in the navigation bar

2. Now that you're in the Playbook Manager - Click the "+" icon to create a new Playbook
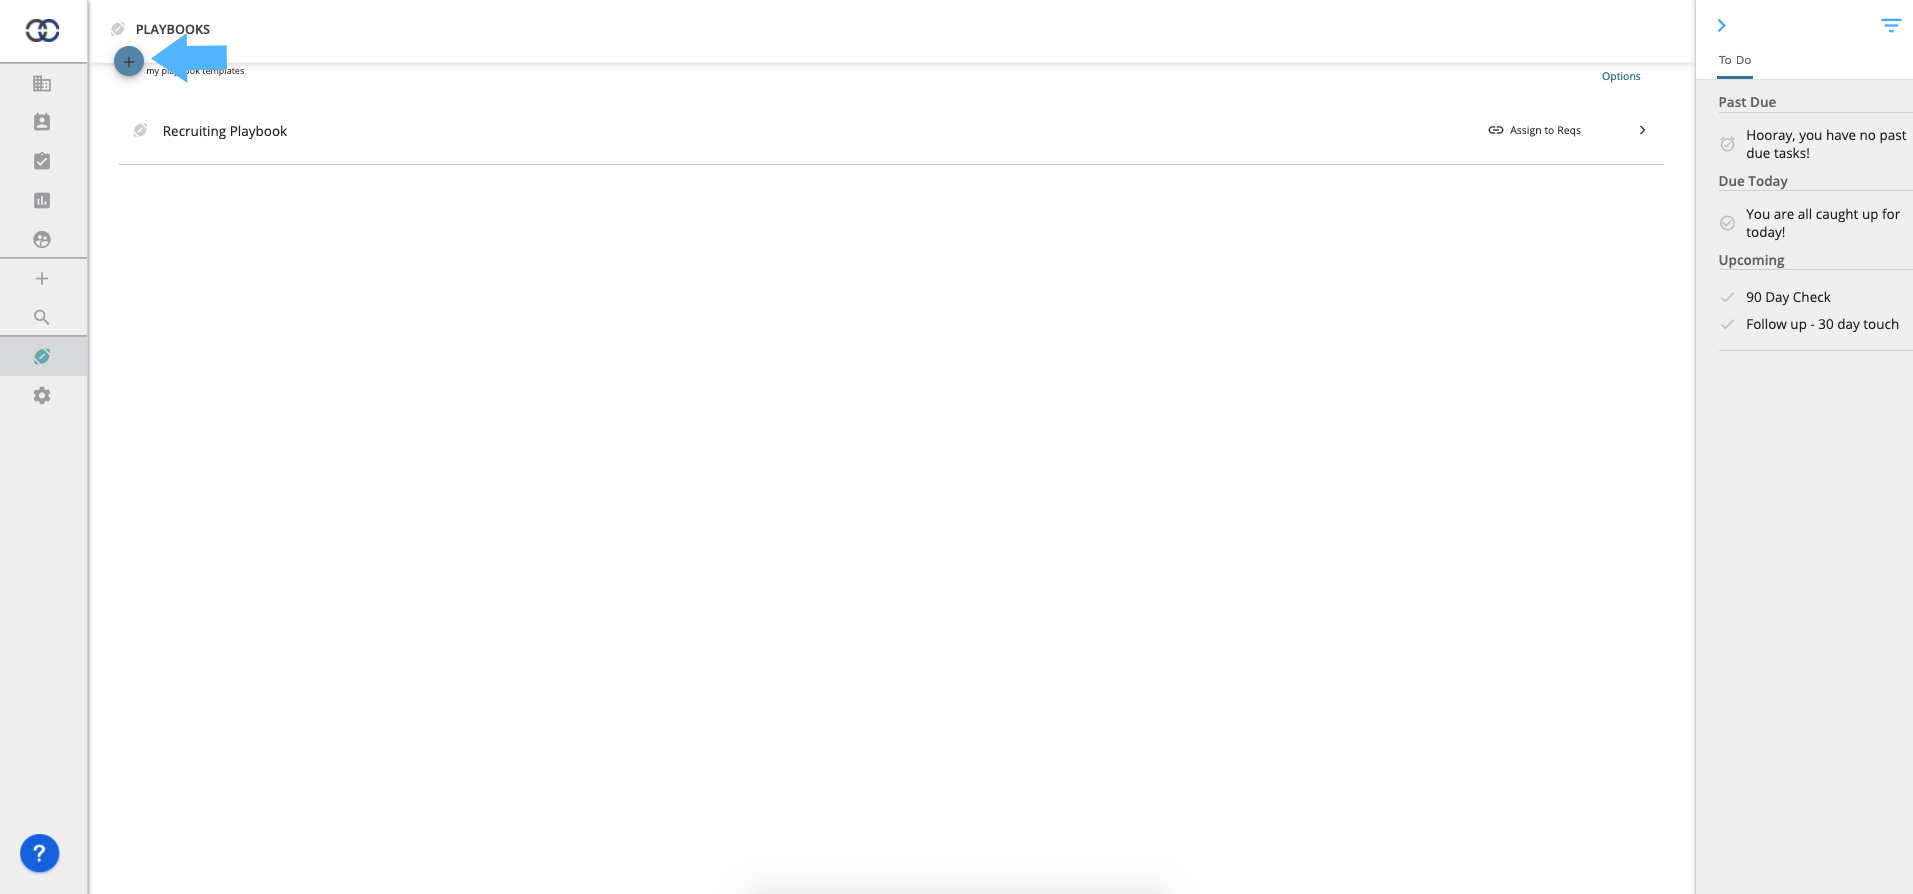
Every Playbook contains Categories. You can have a Main category that houses all items or create separate Categories to further organize items that your team completes.
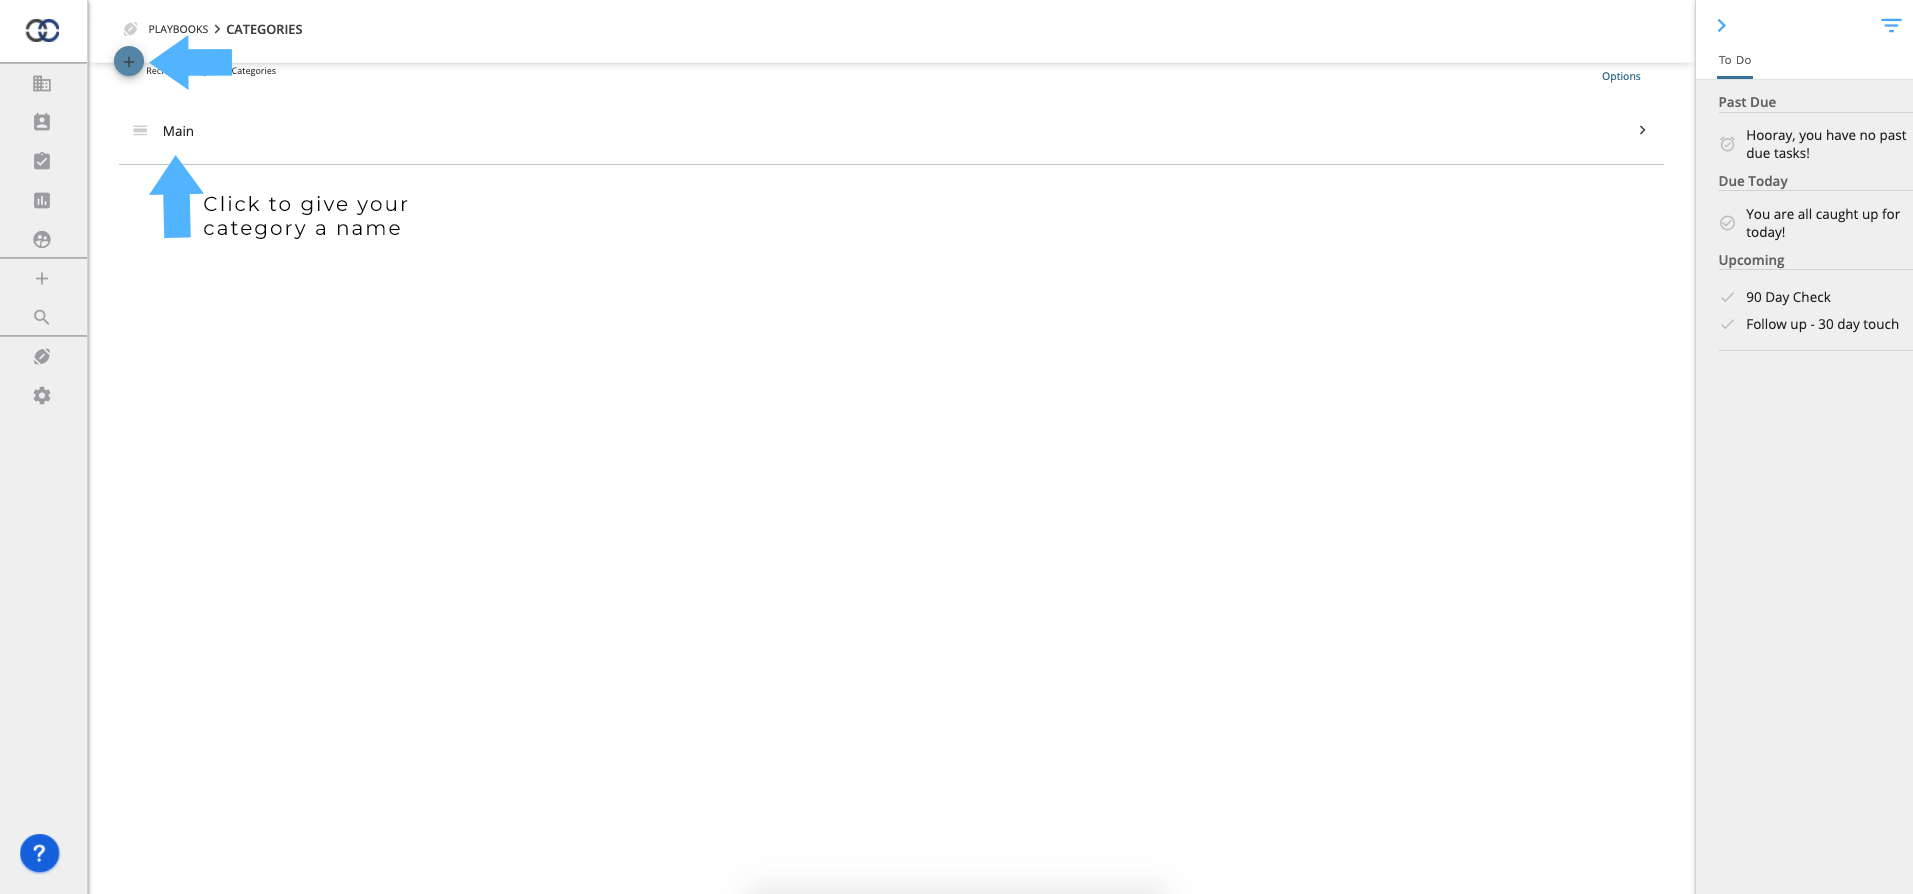
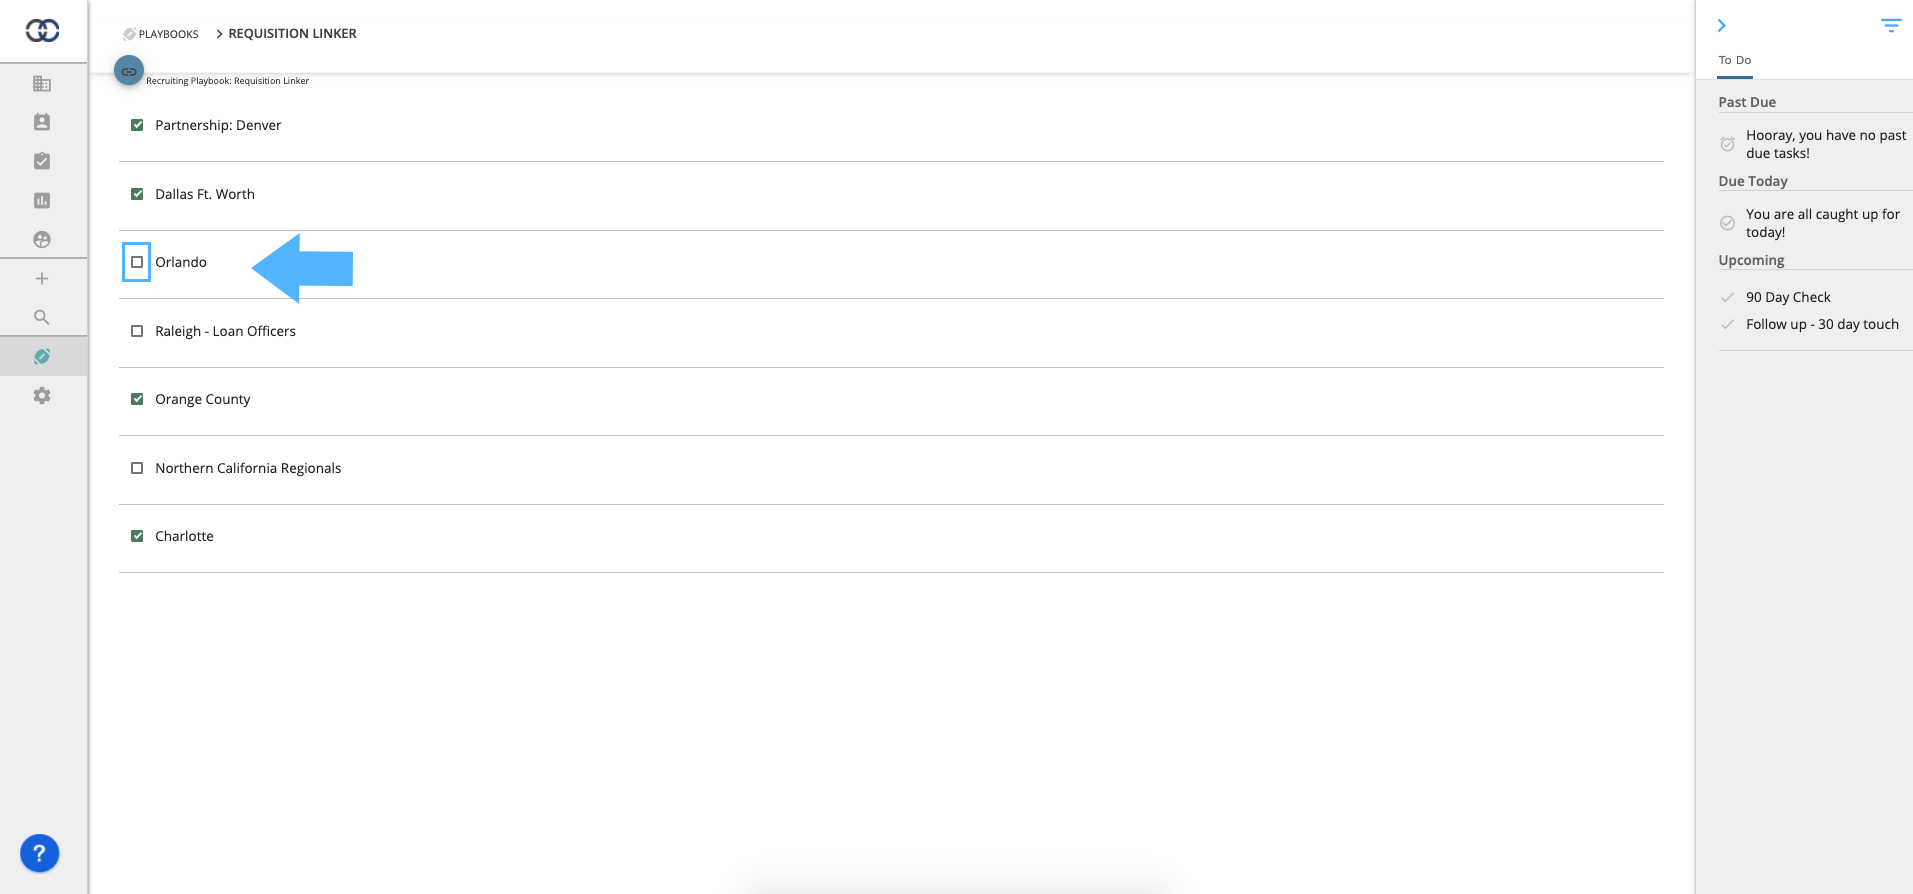
3. Click the "+" to create a new Category. A text field will appear below. Click in the text field to give your category a name.
Pro-tip: You can click the "+" button to create placeholders for Categories quickly.
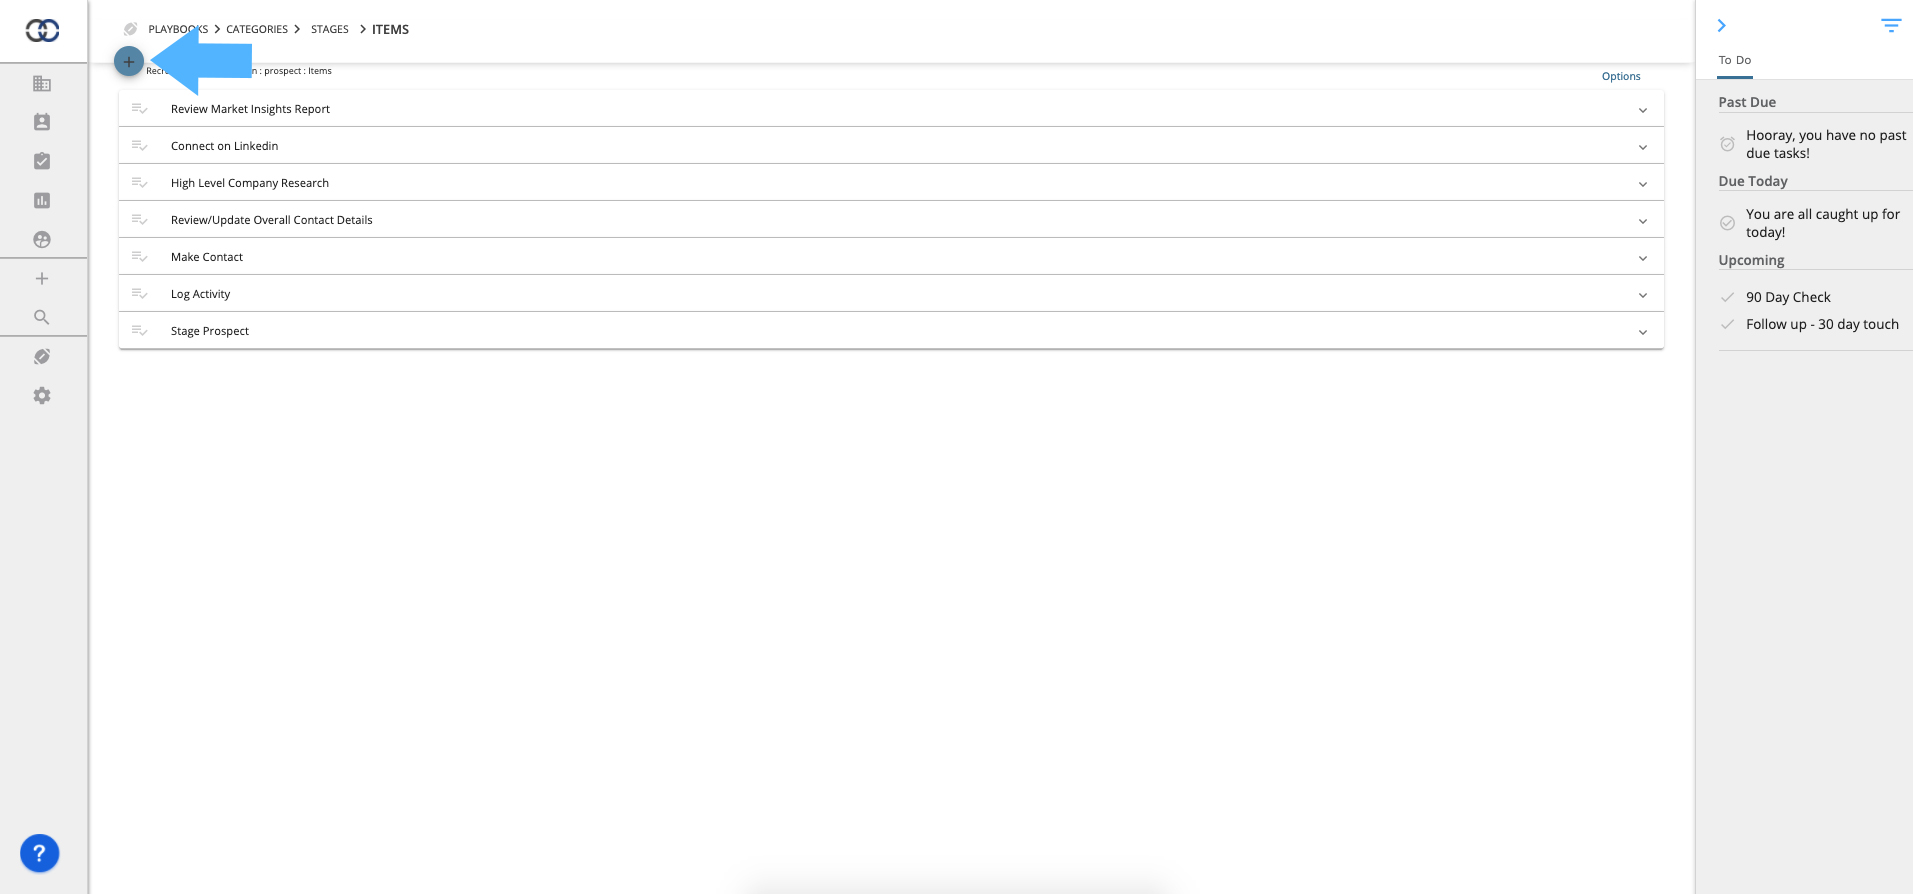
Awesome! Now that you have create at least one category we will start adding items to our new Playbook.
Items are the things your team will look to complete while working a contact.
4. Let's click the "+" button to add a new Item.
Now the fun begins. Now that we have an item created, we can start adding details to each item to help our team keep on track with exactly what needs to be done.
5. Click on an item to provide the item a name and then click the down arrow to open up the Item Details.

Item Detail Options
- Description
- Provide the team member insight on what needs to be done so this item can be completed - "Review Market Insights volume report" or "Make contact with the prospect and inquire about their current volume".
- Indicator
- Indicators are colors such as Green, Yellow, Red or Blue.
- Blue - A non-critical item. This is the default color code
- Green - Somewhat a priority. The team member should focus on these at some point during their engagements
- Yellow - Medium priority items.This is an item that should be completed within a relatively reasonable amount of time
- Red - High priority items. These items are critical to your strategy and process.
- Indicators are colors such as Green, Yellow, Red or Blue.
- Weight
- Items can weigh between 0-100 and should be linked to the indicator as it relates to item importance. Each contact will receive a "Score" when items are completed. Heavier items will score higher and is combination of Total Items completed / Total Items + Item Weight
- Days Since Event
- If a number is entered here, the Item will be due X amount of days since the contact entered a particular stage. For instance, if your team should Make Contact with a prospect at sometime between Day 1 and Day 5 of the contact entering the Prospect Stage, you'd enter the end of that date range, Day 5.
Woo! Now we are making progress! You'll want to add items to each category that you've created and add those items in each stage where they are applicable. Once you're satisfied with your Playbook, we will need to deploy it so our team can start putting it to use!
6. Click the "Playbooks" link at the top of the page and click "Assign to Pipelines" next to the playbook name.

7. Click the checkbox next to each pipeline you'd like to deploy your new Playbook on.
Your selection will auto-save so don't worry about finding a Save button!
and you've now created your first playbook! Congratulations!
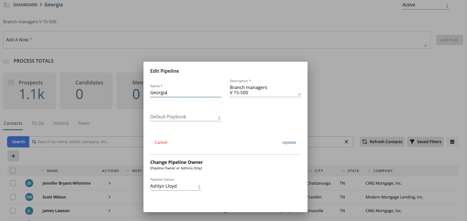
Assign a playbook to a Pipeline on the Pipeline screen
You can also assign Playbooks to Pipelines from the Pipeline screen.
Step-by-Step
- Open a Pipeline and select the name of the Pipeline in the top left corner to open the Pipeline Details. Under the "Default Playbook" dropdown select the Playbook name you'd like to assign to your Pipeline. All contacts will now update to show the new Pipeline.